Tamagoyaki, or Japanese rolled omelette, has this quiet charm. It’s soft, just a bit sweet, and beautifully golden. And while I love the more traditional, dashi-laced versions, there are mornings when I just want to whip something up fast without grabbing extra bottles from the pantry. That’s where this simple 3-ingredient tamagoyaki comes in.
")
No dashi. No stress. Just eggs, sugar, soy sauce—and a little patience.
Why This Version Works So Well for Everyday Cooking
Let’s be honest: as much as we admire fancy techniques, we don’t always have time for them. I learned that the hard way after trying to perfect a restaurant-style tamagoyaki using copper pans and precise folding methods—it was beautiful but exhausting.
This version is my go-to when I’m in a rush but still want something that feels special. Whether I’m packing a quick bento, making a light side for dinner, or just craving a warm, savory bite with rice, this does the trick in 15 minutes.
Plus, you don’t need any fancy equipment to get started. A good non-stick pan, a little wrist action, and you’re all set.
What Exactly Is Tamagoyaki?
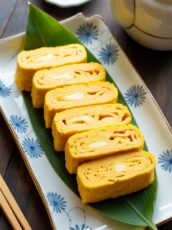
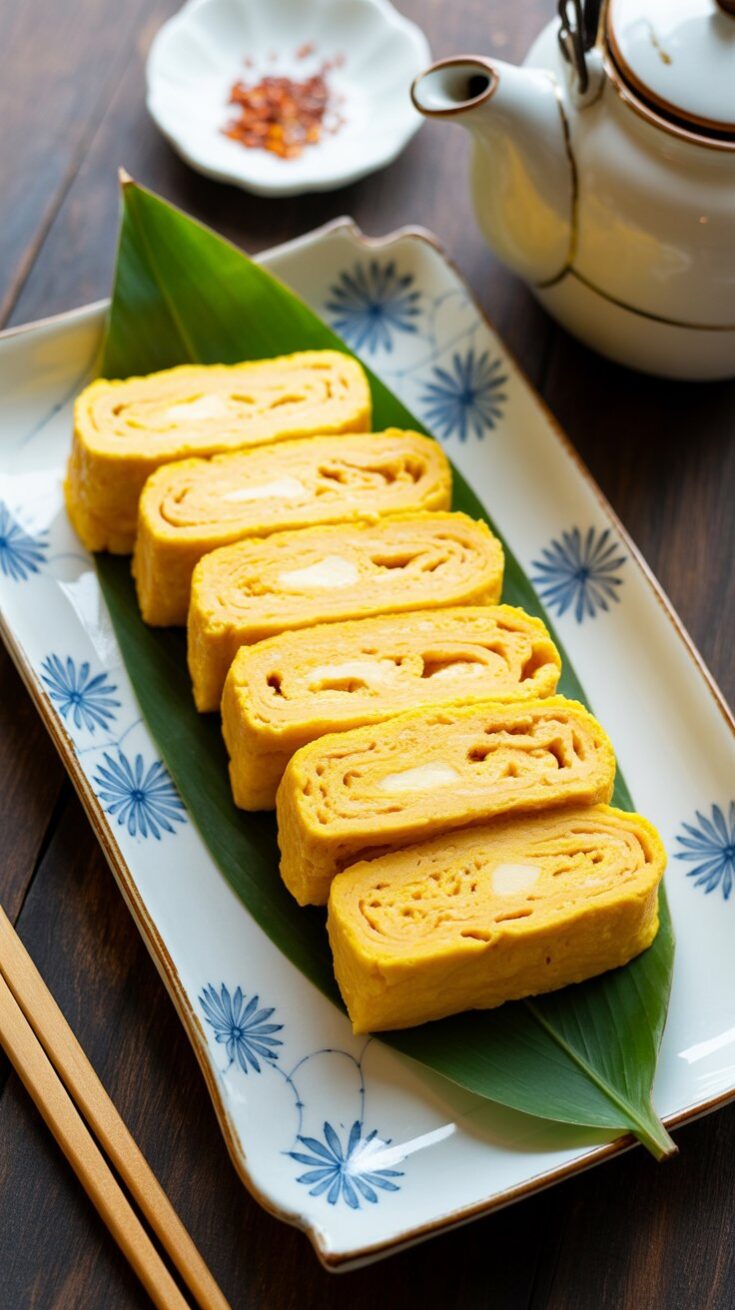
Tamagoyaki is a Japanese-style rolled omelette, made by cooking thin layers of egg and rolling them over themselves to form a neat, rectangular log. It’s soft, lightly sweet, and often served with grated daikon or tucked into a bento box.
At home, it’s a staple side dish—something you can throw together with pantry ingredients and a bit of practice. I’ve made it on sleepy mornings and also when I just want to feel like I’m eating something comforting and homemade.

Quick Look at the Variations
While this recipe keeps it simple, there are a few other kinds of tamagoyaki worth knowing about:
- Dashimaki Tamago – The version with dashi. Silky, juicy, and a bit tricky since the mixture is runnier. I make this when I really want to impress.
- Atsuyaki Tamago – Sweeter and easier to handle. Great for beginners if you’re open to using a bit more sugar.
- Castella Tamago – This one’s a whole different beast. It’s more like a sweet dessert omelette you’d find in sushi restaurants. Think sponge cake, but egg-based.
For everyday cooking though? This 3-ingredient version wins.
Just the Basics: What You’ll Need
You can probably make this with what’s already in your kitchen:
- Eggs – Go with standard large eggs.
- Sugar – A touch of sweetness balances the soy sauce.
- Soy Sauce – I usually go for Japanese soy sauce. If you have usukuchi (lighter color), great—it keeps the omelette bright. But regular will do.
- Kosher Salt – Just a pinch. It rounds things out.
- Water – Optional, but adding a tablespoon or two makes the texture a bit fluffier.
- Neutral Oil – For greasing the pan. I usually apply it with a folded paper towel before each layer.
Step-by-Step: Rolling Like a Pro (Or Close Enough)
1. Mix the Eggs Gently
Don’t whisk like you’re making scrambled eggs. Instead, use chopsticks or a fork and stir in a zig-zag motion. This keeps the mixture smooth without too many bubbles.
2. Heat and Oil the Pan
I start heating the pan while prepping the eggs. Use a brush or paper towel to oil the pan evenly. You want it hot but not smoking—test with a dab of egg mixture. If it sizzles, you’re good to go.
3. Pour a Thin Layer
Start with just enough egg to coat the bottom of the pan. Let it set slightly, then roll it toward you using chopsticks or a spatula. Don’t worry if it’s not perfect—practice helps.
4. Keep Going
Oil the pan again. Pour another thin layer. Lift the rolled egg and let the new layer flow underneath before rolling again. Repeat until the mixture is used up.
5. Shape and Slice
Once done, you can use a bamboo sushi mat to shape it into a clean rectangle, but honestly, I usually just slice and serve as is. Cut into 4–6 pieces and enjoy.
Little Tricks That Make a Big Difference
- Pop the Bubbles – If bubbles form while cooking, pop them with your chopsticks so the surface stays smooth and layers cook evenly.
- Control the Heat – For beginners, medium heat is best. If you’re more confident, crank it up a notch for a more golden, caramelized finish.
- Don’t Stress the First Roll – The first layer usually looks messy. That’s fine—it gets hidden inside.
- Tilt the Pan – This helps the egg layer spread quickly and evenly, especially near the edges.
- Layer Wisely – If the bottom is still wet and you roll too early, it’ll tear. Let it mostly set first.
How I Usually Enjoy It
Tamagoyaki is one of those dishes that works with just about anything. Here are a few of my favorite pairings:
- With steamed white rice and a bit of soy sauce
- Tucked into a bento box with chicken karaage and pickled veggies
- Sliced cold and served with grated daikon for a light lunch
- As a side to miso soup and salted salmon for a cozy, homemade Japanese breakfast
Sometimes I even make a spicy version with shichimi togarashi sprinkled on top—it’s addictive.
Storage Tips (Because It Makes a Great Make-Ahead)
- Fridge: Store in an airtight container for up to 3 days. It stays soft and flavorful.
- Freezer: Freeze slices in a single layer, then pack them up in a container. Thaw overnight or pop into a lunchbox frozen—it’ll be ready by lunch.
- Reheating: I usually eat it cold or room temp, but if I need to warm it, I use a quick microwave burst (covered with a damp paper towel).
What If I Don’t Have a Tamagoyaki Pan?
Totally fine. While a rectangular pan makes the shape easier, I’ve made tamagoyaki in a small round skillet plenty of times. The ends won’t be as sharp, but the flavor and texture are still spot on.
If you’re planning to make it often, I do recommend investing in a pan that feels right for you. Personally, I moved from non-stick to a cast iron tamagoyaki pan, and it’s been a game-changer—just takes a bit of getting used to because of the weight.
Add-Ins to Keep Things Interesting
Once you’ve nailed the basic version, try mixing in or sprinkling one of these before rolling:
- Chopped green onions
- Grated cheese
- Blanched spinach
- Salmon flakes
- Nori strips
- Corn or tiny cooked veggies
- Pickled ginger or shirasu (tiny white fish)
Kids especially love the cheesy or sweet versions. For adults, I like green onions and salmon—it gives it a bit of bite and texture.
What to Serve With Tamagoyaki
It’s a great little protein to round out any Japanese-style meal. Here are some easy combos I turn to often:
- Main: Miso-glazed cod, grilled mackerel, or even leftover karaage
- Sides: Cucumber salad, hijiki with soybeans, or kinpira gobo
- Rice: Steamed rice or onigiri
- Soup: A simple miso soup or clear broth with mushrooms
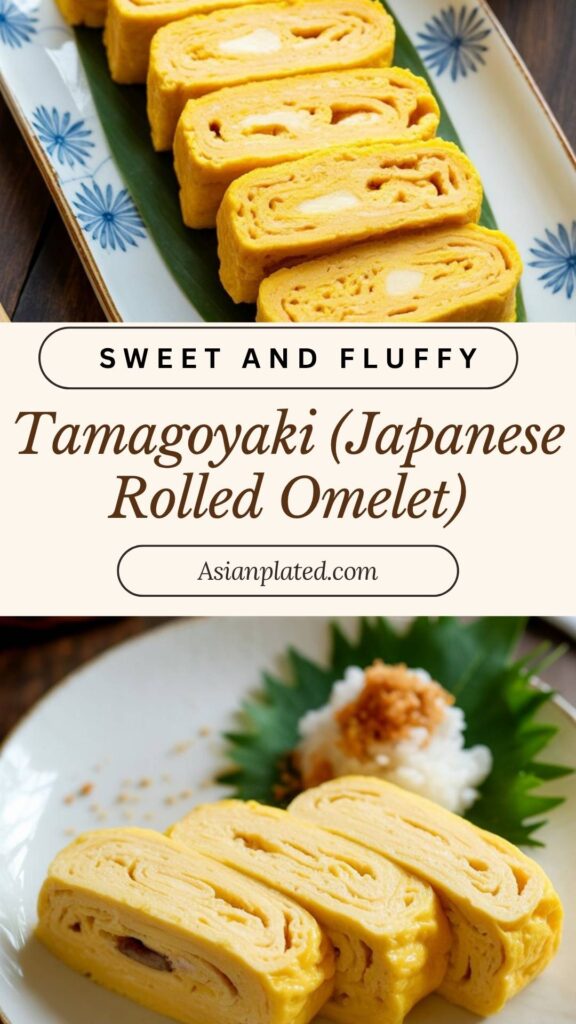
Tamagoyaki (Japanese Rolled Omelet)
There’s something irresistibly comforting about tamagoyaki—those tender layers of sweet and savory egg rolled into a golden log.
Ingredients
- 3 large eggs (room temperature)
- 1 tsp light soy sauce (regular soy sauce works too)
- ½ Tbsp sugar (adjust to 1 Tbsp for a sweeter taste)
- Pinch of salt
- 1 Tbsp water (optional, for a softer texture)
- Neutral oil, for cooking
Instructions
- Crack the eggs into a mixing bowl or cup with a spout. Add sugar, soy sauce, salt, and water if using. Using chopsticks or a fork, gently mix the eggs with a cutting motion—avoid whisking in air. For an ultra-smooth texture, you can strain the mixture through a fine sieve.
- Place your tamagoyaki pan (or a small nonstick skillet) over medium heat. Lightly oil the pan using a paper towel or silicone brush. When a drop of egg sizzles on contact, you're ready to go.
- Pour a thin layer of the egg mixture into the pan. Swirl to cover the surface evenly. Let it cook until just set underneath but still slightly soft on top. Use a spatula or chopsticks to roll the egg from one end to the other.
- Push the rolled egg back to the far side of the pan. Re-grease the pan lightly. Add more egg mixture, letting it flow under the rolled portion. Pop any bubbles and tilt the pan to spread the egg evenly. Once partially set, roll again, enclosing the previous layer.
- Continue the same process with the remaining egg mixture—re-oiling between layers. Once all the layers are rolled, press the omelette gently to form a neat rectangular shape. You can brown the outside slightly for added flavor and texture.
- Remove the omelette from the pan and let it rest for a few minutes. For a cleaner shape, you can wrap it in a bamboo mat while it’s warm. Slice into even pieces and enjoy warm or at room temperature.
Notes
- Keep any leftovers in an airtight container in the fridge for up to 3 days. You can also freeze it—just thaw overnight in the fridge or microwave before serving.
Nutrition Information:
Yield: 2 Serving Size: 1Amount Per Serving: Calories: 183Total Fat: 14gSaturated Fat: 3gTrans Fat: 0gUnsaturated Fat: 10gCholesterol: 279mgSodium: 354mgCarbohydrates: 4gFiber: 0gSugar: 3gProtein: 10g
Asianplated.com, occasionally offers nutritional information for recipes contained on this site. This information is provided as a courtesy and is an estimate only. This information comes from online calculators. Although allchickenrecipes.com attempts to provide accurate nutritional information, these figures are only estimates.
Final Thoughts
If you’ve been intimidated by tamagoyaki, I hope this pared-back version helps you get started. It’s forgiving, quick, and doesn’t require a ton of ingredients or tools. Even if your first few rolls aren’t perfect, don’t worry—mine weren’t either. The more you make it, the more natural it feels.
And trust me, once you get the hang of it, tamagoyaki might just sneak its way into your regular breakfast rotation.
Try other Japanese recipes: