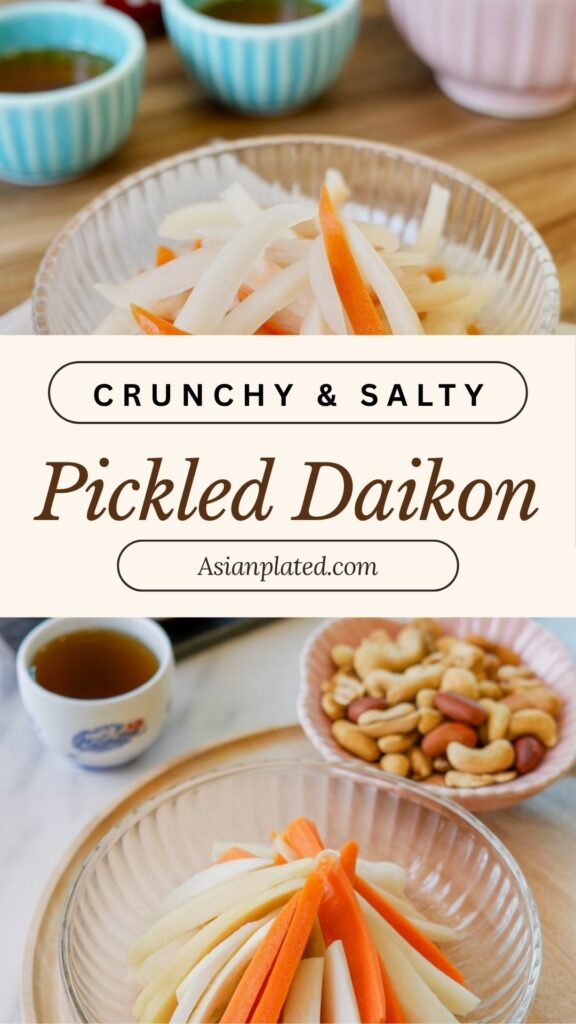
This pickled daikon and carrot combo takes me straight back to the little Chinese restaurants my family used to visit when I was growing up. The kind where they’d bring out a tiny dish of crunchy pickles and salty peanuts before the meal—no fuss, no charge, just a quiet welcome to your table. I’d often ignore the menu completely and just snack on those sweet-tangy pickles until the food arrived.
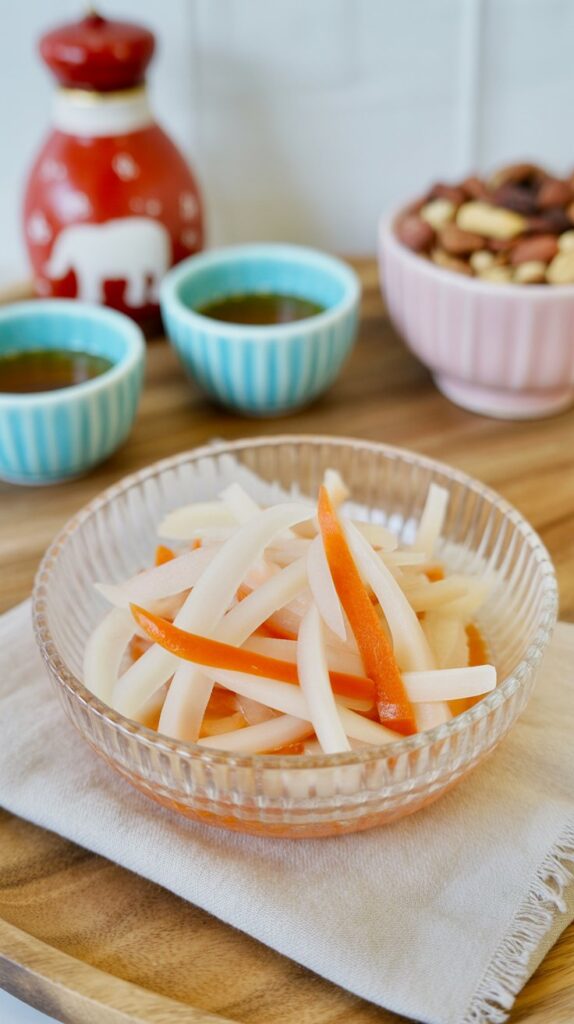
Sadly, I don’t see it served much these days—maybe because of rising costs or changing times. But if you’re like me and miss that nostalgic crunch, it’s worth learning to make at home. It’s surprisingly easy, and honestly, once you taste a bite of homemade pickled daikon chilled straight from the fridge, you’ll wonder why you didn’t do it sooner.
Why This Recipe Is So Simple and Reliable
Don’t let the word “pickled” make you think this is one of those projects that takes weeks or special gear. This is more of a quick, no-fuss pickle—no canning or fermenting, just a clean vinegar-sugar brine that does its job while you forget about it in the fridge for a day or two.
You only need:
- Sugar
- White vinegar
- Rice vinegar
- Salt
- Daikon radish
- Carrots
That’s it. You don’t even need to heat anything over the stove—just stir sugar into hot water, add your vinegars, and pour it all over the salted veg. After 48 hours in the fridge, you’ll have sweet, crunchy pickles that are wildly versatile and keep well for days.
How I Use Pickled Daikon at Home
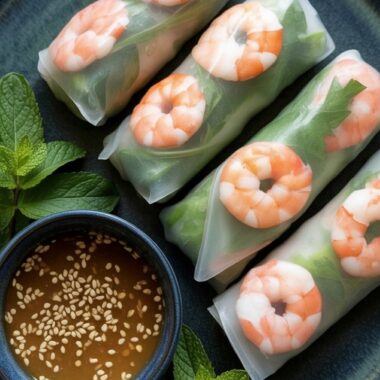
This pickle plays nice with so many dishes. If you’ve ever had a proper banh mi sandwich, then you already know how the crisp daikon and carrot cut through all the richness of the pork and mayo. I like it best piled high on spicy pork meatball banh mi, or tucked next to grilled lemongrass chicken.
You can also serve it as a cold side with Korean BBQ or Vietnamese-style grilled meats. When there’s sticky ribs or something rich like pork belly on the table, I always like to balance it with something sharp and fresh—and this does the trick.
Sometimes I even sneak a few slices onto rice bowls or noodle salads for some extra crunch.
Make it your own:
- Want it less sweet? Use less sugar.
- Prefer more pucker? Bump up the vinegar.
- Like thinner slices? Try a mandoline for those delicate matchsticks.
Practical Tip: That Daikon Smell
Okay, here’s the thing—daikon radish has a smell. It’s earthy, and some people say it stinks up the fridge. I personally don’t mind it, but if anyone in your home starts complaining, just pop the pickles into a tightly sealed jar or a glass container with a good lid. That usually keeps the scent in check.
Avoid plastic containers unless they’re dedicated to pickles—they tend to absorb odors like crazy.
How to Make Pickled Daikon and Carrot
Step 1: Make the Brine
Start by adding sugar to a heatproof bowl or large measuring cup. Pour in hot boiling water and stir until the sugar dissolves. Then stir in the white vinegar and rice vinegar. Set the mixture aside to cool to room temperature.
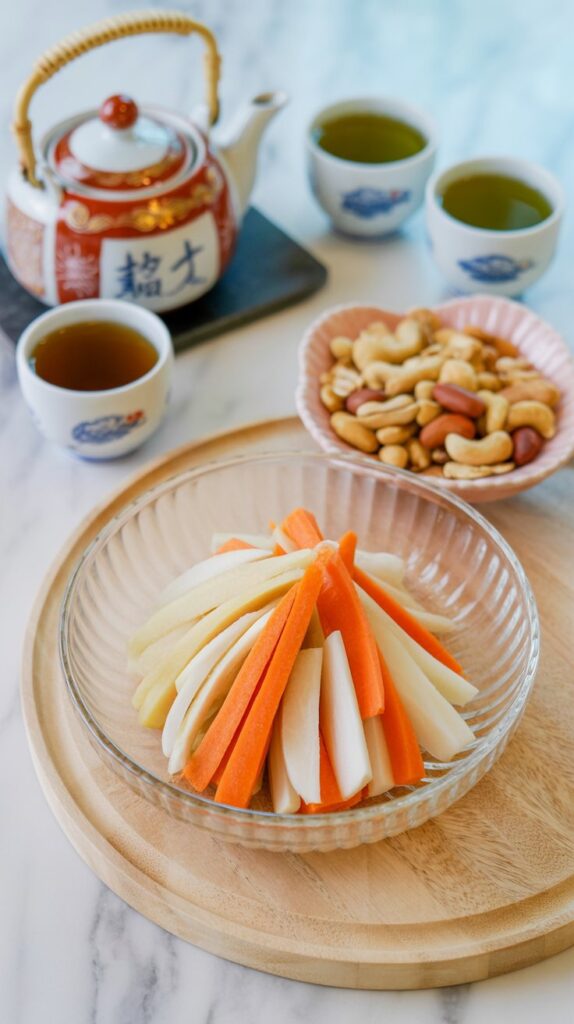
Step 2: Prep the Vegetables
Peel and cut your daikon and carrots into matchsticks (or rounds, if that’s your preference). Add them to a large bowl, sprinkle with salt, and toss well. Let them sit for 15 to 20 minutes. This step draws out moisture, which helps the final pickle stay crisp.
You’ll notice the veggies get softer and more bendable after this step—that’s exactly what we want.
Step 3: Rinse and Pickle
After they’ve released their liquid, give the vegetables a good rinse under cold running water and drain well. Add them to the cooled pickling liquid, making sure everything is submerged. Press the veggies down if needed, cover the bowl or seal the jar, and pop it into the fridge.
Step 4: Let It Sit
You can start tasting the pickles after 24 hours, but I usually wait 48. That’s when the balance of sweet, tangy, and crunch feels just right. They’ll keep well for up to 10 days if stored in a sealed container in the fridge.
Serving Tips from My Kitchen
- Banh Mi Sandwiches – Load them up generously.
- Side for Grilled Meat – Works wonders with pork chops or BBQ ribs.
- Rice Bowls – Adds contrast to teriyaki chicken or bulgogi beef bowls.
- Taco Nights – Believe it or not, these pickles add a fun twist to Korean-style tacos.
Storage and Shelf Life
As long as you keep these in a sealed container in the fridge, they’ll stay crisp and flavorful for up to 10 days. I usually store mine in a glass jar with a tight-fitting lid to avoid any smell spreading in the fridge. Don’t worry if the brine gets a little cloudy—that’s just from the veggies. It’s still totally fine to eat.
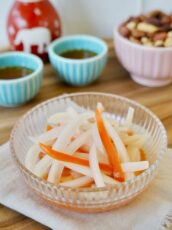
Pickled Daikon

A little sweet, a little tangy, and perfectly crisp—this pickled daikon and carrot combo brings back memories of old-school Cantonese restaurants where it would land on the table before you even ordered.
Ingredients
For the vegetables:
- 1 pound daikon radish, peeled and cut into 3-inch sticks (about ¼-inch thick)
- 1 medium carrot, peeled and cut to match the daikon
- 2 teaspoons salt
For the pickling liquid:
- ½ cup boiling water
- ¼ cup white vinegar
- ¼ cup rice vinegar
- ¼ cup sugar
Instructions
- Start by making the pickling base. Combine the sugar and hot water in a heatproof bowl or large measuring cup, stirring until the sugar is completely dissolved. Add both vinegars and let the mixture cool to room temperature.
- While that’s cooling, place your sliced daikon and carrot into a mixing bowl. Sprinkle with salt and toss well to coat. Let them sit for about 15 to 20 minutes—this helps release excess moisture and gives the final pickle its signature crunch.
- Give the vegetables another quick toss, then rinse them thoroughly under cold water. Drain well and shake off any extra liquid.
- Transfer the veggies into the cooled pickling liquid, making sure they’re fully submerged. Cover the bowl or jar tightly and refrigerate. You’ll get a light pickle after 24 hours, but if you let them sit for 48 hours, the flavor gets bolder and more balanced. They’ll keep well for up to 10 days.
Nutrition Information:
Yield: 6 Serving Size: 1Amount Per Serving: Calories: 61Total Fat: 0gSaturated Fat: 0gTrans Fat: 0gUnsaturated Fat: 0gCholesterol: 0mgSodium: 728mgCarbohydrates: 14gFiber: 2gSugar: 11gProtein: 1g
Asianplated.com, occasionally offers nutritional information for recipes contained on this site. This information is provided as a courtesy and is an estimate only. This information comes from online calculators. Although allchickenrecipes.com attempts to provide accurate nutritional information, these figures are only estimates.
Common Questions
Can I use only white vinegar?
Yes, but I find the mix of white vinegar and rice vinegar gives a more balanced flavor—white vinegar brings the punch, and rice vinegar adds softness.
Do I have to use carrots?
Not at all. I love the color and sweetness carrots add, but you can skip them or swap in thin slices of cucumber or even red radish for a different twist.
Why salt the veggies first?
Salting helps draw out water from the daikon and carrots, which keeps the final pickle crisp and prevents the brine from getting too diluted.
Can I eat it the same day?
Technically yes, but it’ll taste more like a lightly dressed salad. For that real pickle flavor, wait at least 24 hours—48 is even better.
Let me know if you end up making this. It’s one of those recipes that becomes a staple once you get the hang of it—perfect to keep in the fridge for quick flavor boosts. Let’s keep this old restaurant tradition alive, one crunchy bite at a time.
Try other Chinese recipes: