Easy, fiery, and so full of flavor — this homemade chili oil is something I always keep in my kitchen. My mom made this by the gallon back in the day for her little restaurant, and now I’ve taken over the tradition in my own home. It’s bold, aromatic, and so versatile you’ll want to put it on everything from eggs to noodles.

What Makes Chili Oil So Addictive
Chili oil is more than just heat — it’s a layer of flavor that sticks with you. It’s made by pouring hot oil over a fragrant mix of chili flakes, garlic, and other spices. The sizzling moment when the oil hits the bowl? That’s magic. You get this incredible aroma that tells you dinner is about to get a whole lot better.
In my kitchen, chili oil isn’t just a condiment. It’s a finishing touch that pulls a dish together — whether that’s a lazy bowl of ramen, a plate of dumplings, or even a slice of toast on a rushed morning.
Why I Always Make It From Scratch
Sure, store-bought chili oil is fine in a pinch, but nothing compares to a fresh batch made at home. Here’s why I stick to homemade:
- I know exactly what goes in — no preservatives, no mystery additives.
- I get to adjust the heat just how I like it.
- It’s actually fast. From prep to finish, it takes less than 10 minutes.
- And let’s be honest — gifting a small jar of homemade chili oil makes you look like a rockstar cook, even if all you did was pour hot oil over some spices.
When I was in college, I used to make small jars and give them to friends — and every single one came back asking for more.
What I Love About This Recipe
- Deep, customizable flavor – Add more garlic or vinegar depending on your mood.
- Quick prep – This comes together in minutes. It’s almost too easy.
- Pairs with everything – I use it on dumplings, eggs, noodles, sandwiches… even roasted veggies.
- No funny stuff – Just real ingredients that do their job right.
Ingredients You’ll Need
You don’t need anything fancy. Here’s what I always keep on hand for this:
- Garlic – I chop it fine for more surface area, so it infuses better.
- Green onion – Adds a subtle sharpness.
- Chinese chili flakes – For that deep, smoky heat.
- Gochugaru (Korean chili powder) – Adds color and a milder burn.
- Soy sauce – Brings umami depth.
- Black vinegar – The secret twist from my mom’s recipe. It gives it this mellow, tangy edge.
- Neutral oil – Canola, peanut, or grapeseed all work well.
I usually mix Chinese chili flakes with gochugaru to balance spice and flavor.
How I Make It Step-by-Step
This is one of those recipes you can almost do with your eyes closed once you’ve done it a couple of times.
Step 1: Finely chop garlic and green onions. I like to prep these first so they’re ready when the oil gets hot.
Step 2: In a heatproof bowl, mix soy sauce, black vinegar, chili flakes, gochugaru, garlic, and green onions.
Step 3: Heat oil in a small pan until it reaches that sweet spot — not smoking, but hot enough to sizzle. If you stick a wooden chopstick in and it bubbles, you’re there.
Step 4: Carefully pour the hot oil over the chili mixture. Stir it up and let the flavors bloom.
That moment the oil hits the bowl? It smells like my mom’s kitchen. Garlic, chili, vinegar — all waking up at once.

What I Use It On (Almost Everything)
Honestly, chili oil makes almost any savory dish better. Some favorites at home:
- Dumplings — both steamed and pan-fried
- Soft-boiled eggs over rice
- Instant noodles — I swirl a spoonful right before serving
- Leftover roast chicken sandwiches
- Stir-fried greens — especially bok choy or spinach
- Even pizza (I know it sounds wild, but try it)
This is one of those condiments you’ll start experimenting with because it makes things taste more alive.
Easy Ingredient Swaps (If You’re Missing Something)
- Oil: Stick to neutral oils. I skip olive oil here because it’s too strong and burns easily.
- Chili flakes: If you can’t find Chinese ones, crushed red pepper flakes work — just be ready for a different heat level.
- Black vinegar: This is what gives my version its edge. If you don’t have it, try rice vinegar or even balsamic (though balsamic adds more sweetness than tang).
Sometimes I throw in a few Sichuan peppercorns or star anise for added depth — especially if I’m making a batch to go with noodles.
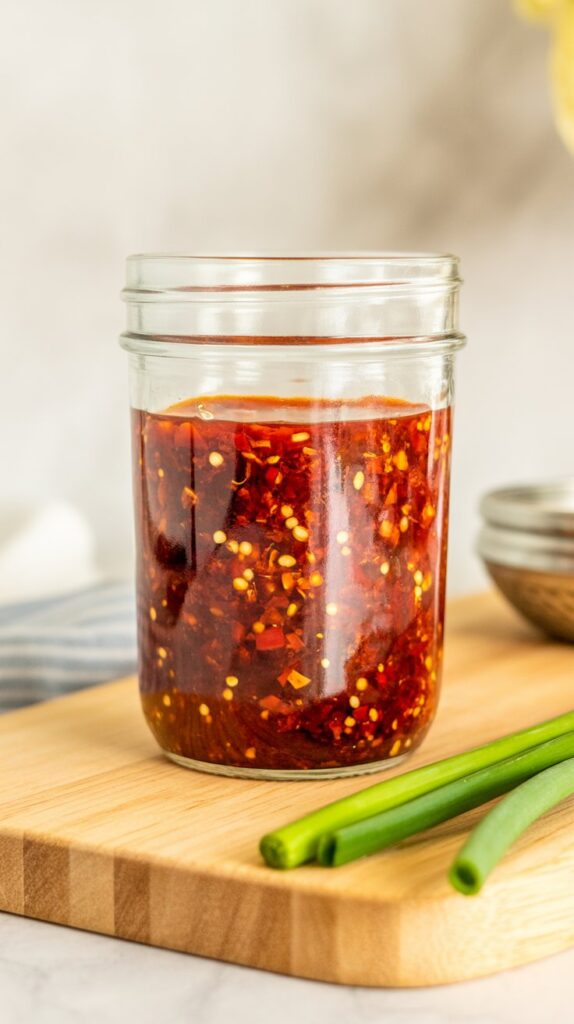
Mom's Homemade Chili Oil
This chili oil is my go-to secret weapon in the kitchen. It's spicy, aromatic, and just the thing to bring a bold kick to your rice bowls, noodles, dumplings, or even a soft-boiled egg.
Ingredients
- ¾ cup neutral oil (such as canola, vegetable, peanut, grapeseed, or avocado oil)
- 10 cloves garlic, finely minced
- 3 green onions, chopped
- ¾ cup soy sauce
- ⅓ cup Chinese black vinegar
- 3 tablespoons Chinese-style chili flakes
- 1 tablespoon gochugaru (Korean chili powder)
Instructions
- Start by prepping your garlic and green onions. Make sure both are finely chopped—they’ll be going straight into the bowl.
- In a heat-safe bowl, stir together the soy sauce, black vinegar, chili flakes, gochugaru, garlic, and green onions. This forms the base of your chili oil flavor bomb.
- Now, in a small saucepan, gently heat the oil over medium heat. You're aiming for it to reach that perfect infusing temperature—around 225–250°F. If you don’t have a thermometer handy, no worries. Just dip a wooden chopstick into the oil. If small bubbles begin to form around it, you’re good to go.
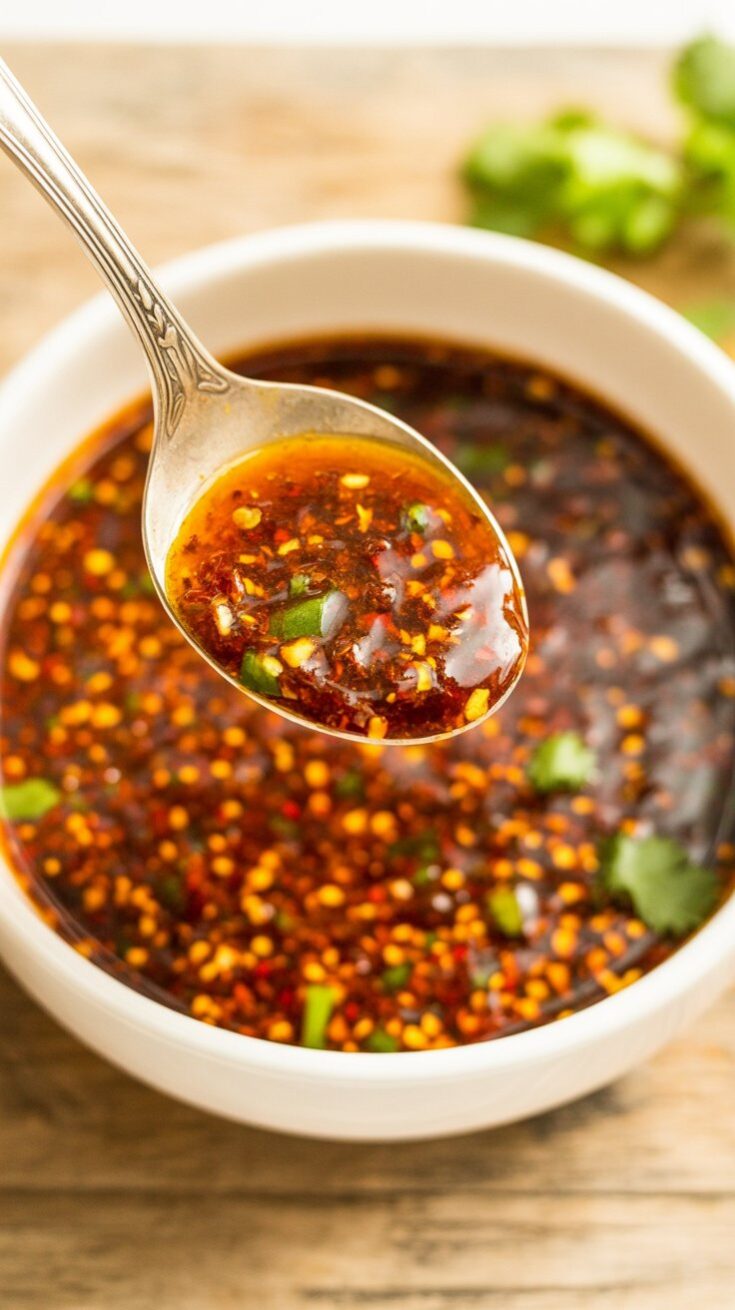
- Once the oil is ready, carefully pour it over the chili mixture in the bowl. You’ll hear a sizzle as everything wakes up—give it a good stir to bring it all together.
- Taste and tweak if needed—add a splash more soy sauce or chili flakes depending on your heat preference.
Notes
- Spoon it generously over ramen, fried eggs, pan-fried dumplings, silken tofu, or drizzle it into dipping sauces. It instantly levels up any savory dish.
- Let the chili oil cool completely before transferring to a clean, airtight jar or container. Store it in the fridge and use within 3 months. Always use a clean spoon to scoop—it helps prevent any spoilage.
Nutrition Information:
Yield: 12 Serving Size: 1Amount Per Serving: Calories: 143Total Fat: 14gSaturated Fat: 1gTrans Fat: 0gUnsaturated Fat: 13gCholesterol: 0mgSodium: 877mgCarbohydrates: 3gFiber: 1gSugar: 0gProtein: 2g
Asianplated.com, occasionally offers nutritional information for recipes contained on this site. This information is provided as a courtesy and is an estimate only. This information comes from online calculators. Although allchickenrecipes.com attempts to provide accurate nutritional information, these figures are only estimates.
How I Store It Without Losing Flavor
Once the chili oil cools completely, I pour it into a clean glass jar with a tight-fitting lid. I always use a dry spoon when scooping it out to keep things fresh.
I keep it in the fridge for up to 3 months. But let’s be real — it never lasts that long at my place. I usually finish a jar in two weeks flat.
Try other Chinese recipes: