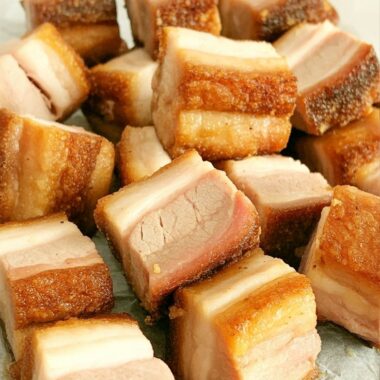
If there’s one dish that takes me straight back to loud family lunches and lazy weekend gatherings, it’s Lechon Kawali. This crispy fried pork belly is golden, crackly, salty, and oh-so-satisfying—basically the kind of thing that makes you forget all about your diet until the last crunchy bite.
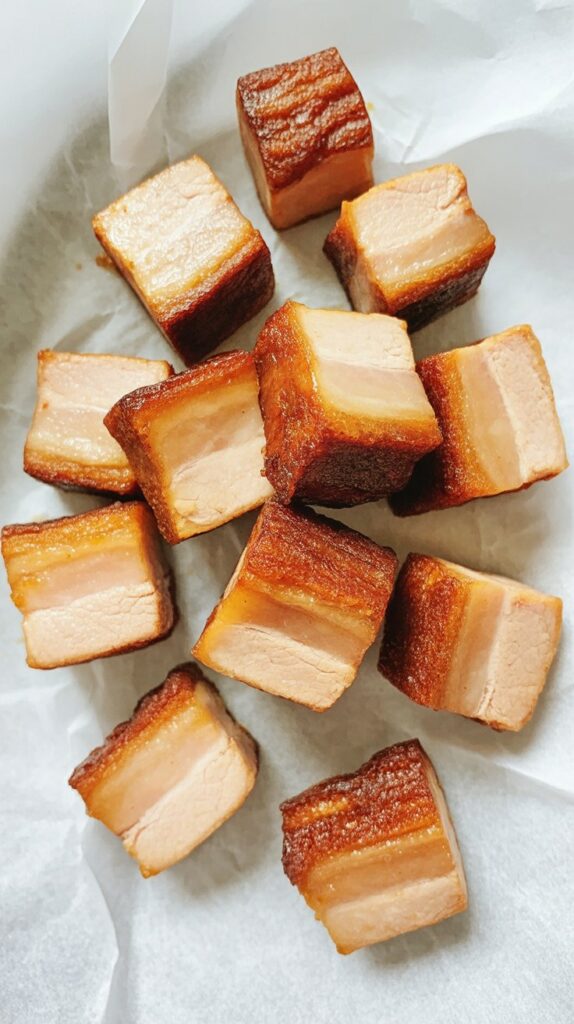
What I love most about it? It’s a labor of love that’s 100% worth the effort. You boil, you dry, you fry—yes, it takes some patience, but the result is pork with that crackly, blistered skin and a juicy interior that just melts in your mouth. Let me walk you through how I make it at home, along with some little tricks that make all the difference.
A Quick Peek at What Makes It Special
Lechon Kawali isn’t just crispy pork belly. It’s the kind of crispy where the skin puffs and crackles like chicharrón, while the inside stays moist and tender. That contrast is what makes it addictive. It’s traditionally enjoyed with a side of liver sauce or vinegar dipping sauce—and honestly, a bowl of garlic rice on the side never hurts.
This was one of the first Filipino dishes I ever tried making because I couldn’t stop thinking about the version I had at a friend’s birthday. I remember watching the skin bubble and pop in the oil and thinking, “Okay, I get the hype now.”
Choosing the Right Cut of Pork
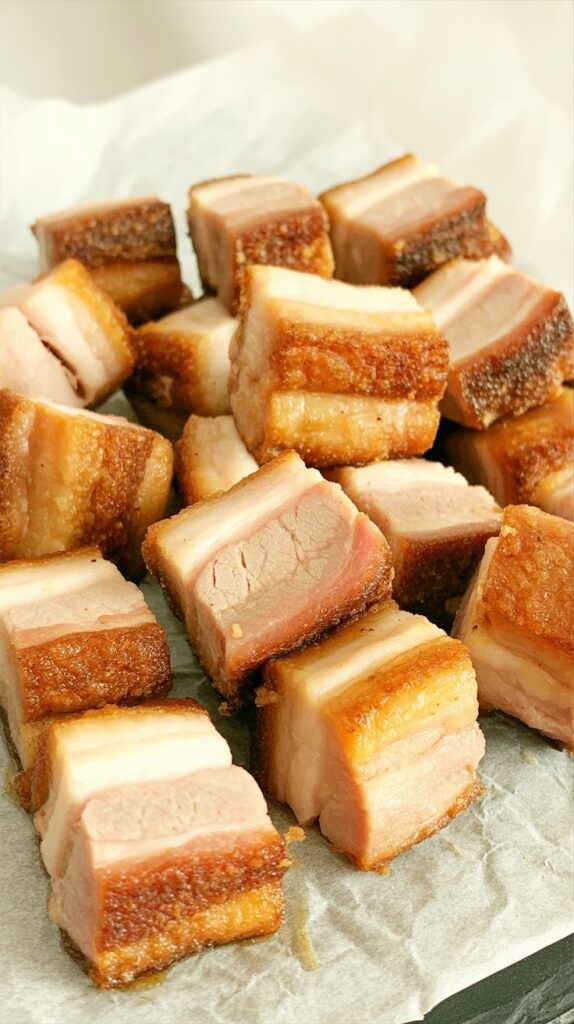
The secret to good Lechon Kawali starts at the butcher counter. You want to ask for pork belly—specifically a slab with a nice balance of fat and meat. That fat is going to keep everything juicy while the outer layer crisps up beautifully.
Here’s what I usually look for:
- Thin, even layers of fat and meat — not too thick and not overly lean.
- A slab no more than 1½ inches thick so it cooks evenly and doesn’t get chewy.
- Skin that looks clean and smooth, since that’s what’s going to turn into golden goodness.
Don’t settle for a dry-looking belly. The juicier and fresher the cut, the better your final dish will taste.
My Go-To Method for Crispy Lechon Kawali
After a few experiments (and some not-so-crispy attempts), I’ve settled on this foolproof method. Here’s how I get that beautiful crunch every time:
- Boil First – I simmer the pork belly in water seasoned with salt, peppercorns, garlic, and bay leaves until it’s fork-tender. Usually around 45–60 minutes does the trick.
- Dry It Out – This is crucial. After boiling, I pat it dry and let it air-dry uncovered in the fridge—overnight if possible. This helps the skin dehydrate so it blisters better when fried.
- Slice Before Frying – I cut the pork into square chunks, about an inch thick. This makes sure each piece gets crispy on all sides, and honestly, they’re easier to eat and fry this way.
- Fry in Batches – I fry in hot oil, making sure it’s not crowded in the pan. Too much pork will drop the oil temperature and you’ll end up steaming instead of frying.
- Splashing Water for Crackle – Here’s an old-school trick I picked up: during frying, I carefully sprinkle a bit of cold water onto the pork to help the skin puff up. It sizzles like crazy, so I always use a long spatula and wear a kitchen mitt.
Is it a little messy? Yes. But that crispy skin? Worth every splatter.

Kitchen Notes and Real-Life Tips
- Rest your pork belly after boiling. Don’t rush into frying. Letting it dry out changes everything.
- Use a splatter guard if you’re nervous about the water splash trick. It gets intense.
- Keep the oil hot and steady – too cool and you’ll get soggy skin, too hot and it’ll burn before it crisps.
- Try a double-fry method if you want extra crispiness. Fry once until golden, let it cool, then fry again for maximum crunch.
What to Serve With Lechon Kawali
We usually enjoy this with suka (spiced vinegar) or a classic Filipino liver sauce (Mang Tomas style). That tangy-salty combo really balances the richness of the pork. It’s also great over garlic fried rice, maybe with some atchara (pickled papaya) on the side to cut through the fat.
At home, I’ll serve this on a big wooden chopping board with dipping sauces on the side. It turns into a “grab your piece” situation at the dinner table—and honestly, that’s the fun of it.
Storing Leftovers (If You Have Any)
If by some miracle you have leftovers, store them in an airtight container in the fridge. To reheat, air fryer or oven is your best bet. A few minutes at 375°F in the air fryer brings back that lovely crunch. Avoid microwaving unless you’re okay with soft skin.
Sometimes I’ll chop up the leftovers and throw them into sinigang or use them as a topping for fried rice—it’s delicious either way.
Common Questions
Can I use an air fryer instead of deep-frying?
Yes! After boiling and drying the pork, air fry it at 400°F for 30–40 minutes, flipping halfway. The crackle isn’t as dramatic as deep frying, but it still gets nice and crisp.
Why is my skin not getting crispy?
It’s usually because the skin wasn’t dry enough before frying. Let it air dry overnight, and make sure the oil is hot enough.
Do I need to season the pork before frying?
I add salt while boiling, and that’s usually enough. But if you like it more flavorful, you can rub some garlic powder or five spice on the meat side before frying.
If you’ve never tried making Lechon Kawali at home, now’s the time. It’s bold, satisfying, and just the kind of thing that brings people together at the table—messy fingers and all.
Let me know if you try it, or if your family has their own tricks for getting that skin extra crackly.
Lechon Kawali
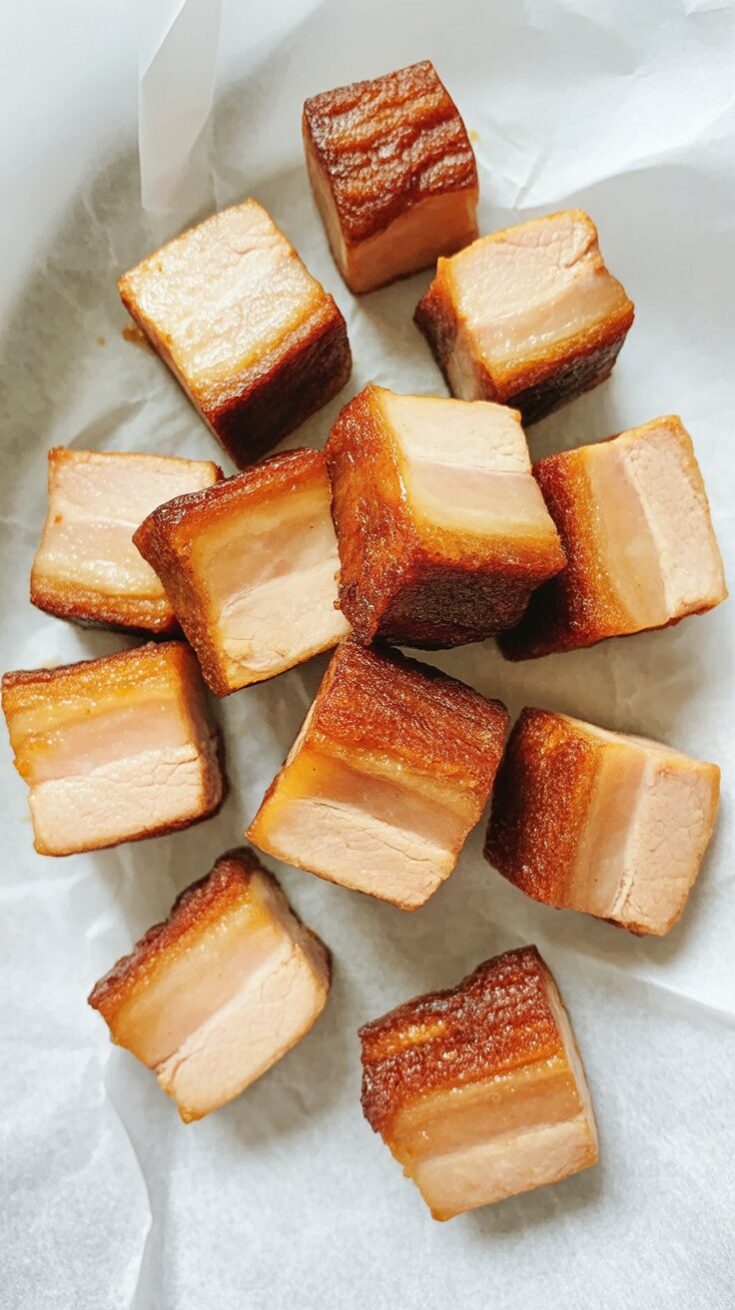
Celebrate crispy, golden pork belly with this classic Lechon Kawali recipe—pork belly boiled tender, dried overnight, then fried to crackling perfection.
Ingredients
- 2 pounds pork belly
- 3 tablespoons salt (for boiling)
- 2 teaspoons whole peppercorns
- 5 bay leaves
- 1 tablespoon soy sauce
- 5 cloves garlic, crushed
- 4 cups water
- 1 tablespoon salt (for rubbing)
- 2–3 cups cooking oil (for frying)
Instructions
- Boil the Pork Belly: In a large pot, combine pork belly, 3 tablespoons salt, whole peppercorns, bay leaves, crushed garlic, soy sauce, and water. Bring to a boil over medium-high heat. Reduce heat and simmer until the pork is fork-tender, about 45–50 minutes.
- Drain and Dry: Remove the pork belly from the pot and let it drain thoroughly. Transfer to a plate and rub the entire surface with 1 tablespoon salt. Place the pork belly uncovered in the refrigerator overnight to dry out. This step is essential for achieving crispy skin.
- Prepare for Frying: Cut the pork belly into roughly 1-inch cubes.
- Fry to Crispy Perfection: Heat oil in a deep wok or heavy pot over medium-high heat until hot. Fry the pork belly pieces, turning each side for about 5 minutes until the skin crisps and crackles. To encourage crackling, occasionally sprinkle ice-cold water on the pork skin while frying.
- Drain and Serve: Remove fried pork from oil and drain on paper towels to remove excess oil. Serve immediately while hot.
Nutrition Information:
Yield: 5 Serving Size: 1Amount Per Serving: Calories: 9647Total Fat: 1070gSaturated Fat: 81gTrans Fat: 8gUnsaturated Fat: 941gCholesterol: 152mgSodium: 5430mgCarbohydrates: 2gFiber: 0gSugar: 0gProtein: 42g
Asianplated.com, occasionally offers nutritional information for recipes contained on this site. This information is provided as a courtesy and is an estimate only. This information comes from online calculators. Although allchickenrecipes.com attempts to provide accurate nutritional information, these figures are only estimates.
Try other Filipino recipes:


