When I think back to my first taste of freshly made tteokbokki at a Korean street stall, all I remember is that chewy rice cake soaking up spicy sauce—comfort food at its best. Ever since then, I’ve been obsessed with figuring out how to make the rice cake at home from scratch. The good news? It’s simpler than you’d expect. With just rice flour, hot water, and a touch of sesame oil, you can recreate that chewy magic right in your kitchen.

What Makes These Rice Cakes So Special
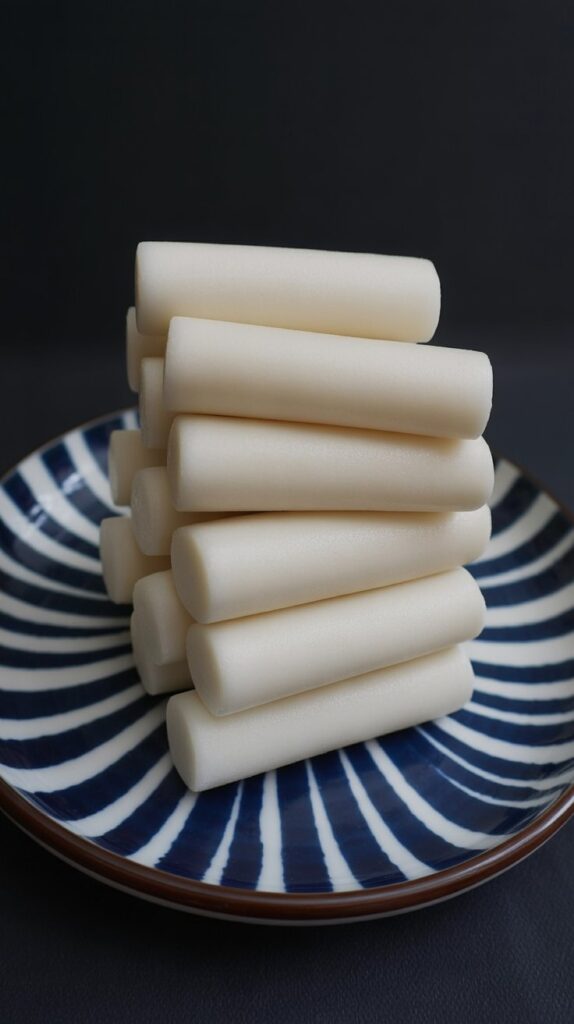
Garaetteok, or Korean rice cakes, are firm, bouncy, and wonderfully chewy—kind of like a cross between gnocchi and mochi. On their own, they’re pretty neutral in flavor, but they’re brilliant at soaking up sauces. Whether you’re tossing them in a spicy tteokbokki or pan-frying them with soy sauce and garlic, they add a satisfying bite to any dish.
I usually make them when I’ve got a packet of gochujang calling my name, but honestly, my kid likes them plain, rolled in honey and sesame seeds like we had in Seoul once. You can even just grill them till golden and enjoy them as a simple snack.
Ingredients You’ll Need
- Rice Flour – I use raw rice flour (pacharisi maavu) from the Indian store. It’s not exactly the same as Korean short-grain rice flour, but it works beautifully if you get the water ratio right.
- Salt – Just a pinch to round out the flavor.
- Hot Water – You’ll need boiling water to help the rice flour cook properly. Add it slowly.
- Toasted Sesame Oil – This gives the rice cakes that nutty aroma and keeps them from sticking.
Tip: The rice flour you use will affect everything—from texture to water amount. Some brands absorb more water, so always start slow and add more as needed.
Making Korean Rice Cakes at Home (Microwave Version)
This method is my go-to when I want rice cakes quickly without setting up the steamer. It takes less than 10 minutes from start to finish.
Step 1: Mix It Up
Start with a bowl of rice flour and stir in a pinch of salt. Slowly pour in boiling hot water—about ¾ cup for 1 cup of flour. Mix until you get a crumbly dough that holds together when pressed but isn’t overly wet.
Step 2: Microwave Cooking
Cover the bowl with plastic wrap, leaving a little gap to let steam escape. Microwave on high for 2 minutes. Stir, then microwave again for another 2 minutes. The mixture should now look cooked—slightly sticky but holding its shape.
Step 3: Knead It Right
Grease a silicone mat or clean surface with sesame oil. Once the rice mixture is cool enough to handle, transfer it there. Pound or knead it until it becomes smooth, elastic, and a little bouncy. The longer you knead, the better the chew!
How to Shape the Rice Cake
Once the dough is smooth, rub a bit of oil on your hands. Divide the dough into four portions and roll each into a rope. I like mine about finger-width thick. From here, you can cut them into short sticks or keep them long if you’re making tteokguk (rice cake soup).
Tip: Coat each piece lightly in sesame oil after cutting—this keeps them from sticking while they cool or freeze.
No Microwave? Here’s the Steamer Version
If you don’t have a microwave (or just prefer the steamer), this version works great too.
- Mix your rice flour, salt, and hot water into a thick batter.
- Pour the mixture into a greased shallow bowl.
- Steam over boiling water for 30 minutes until the mixture looks cooked through.
- Let it cool a bit, then knead it just like the microwave method. The result is the same: soft, chewy rice cake dough ready to shape.
How I Make Homemade Rice Flour (When I Feel Fancy)
There’s something satisfying about making your own rice flour—especially if you want total control over the texture.
- Soak raw rice for 3 hours.
- Drain and dry it on a clean cloth for 2 hours.
- Grind into a fine powder.
- Optional: Lightly toast it in a dry pan to improve shelf life and flavor.
Just be warned—it’s hard to get it as fine as mill-ground flour. Still, it’s perfect if you want that authentic homemade feel.
Storage Tips That Actually Work
- Fridge: Keep rice cakes in a ziploc bag with excess air pressed out. They’ll stay good for 1–2 days.
- Freezer: I freeze mine in small batches with a bit of oil rubbed on. They last for months this way.
- From Frozen: Just soak them in warm water for 5–10 minutes before adding to your dish. They’ll soften up and cook beautifully.
My Favorite Ways to Use Korean Rice Cakes
- Tteokbokki – The ultimate comfort food. Spicy, sticky, and so addictive.
- Grilled with Honey + Sesame – Sweet and nutty, these are my kid’s favorite.
- Rice Cake Soup (Tteokguk) – A cozy soup I like to make during rainy days.
- Pan-fried with Gochujang Sauce – Quick weeknight dinner when I want something with a little heat.
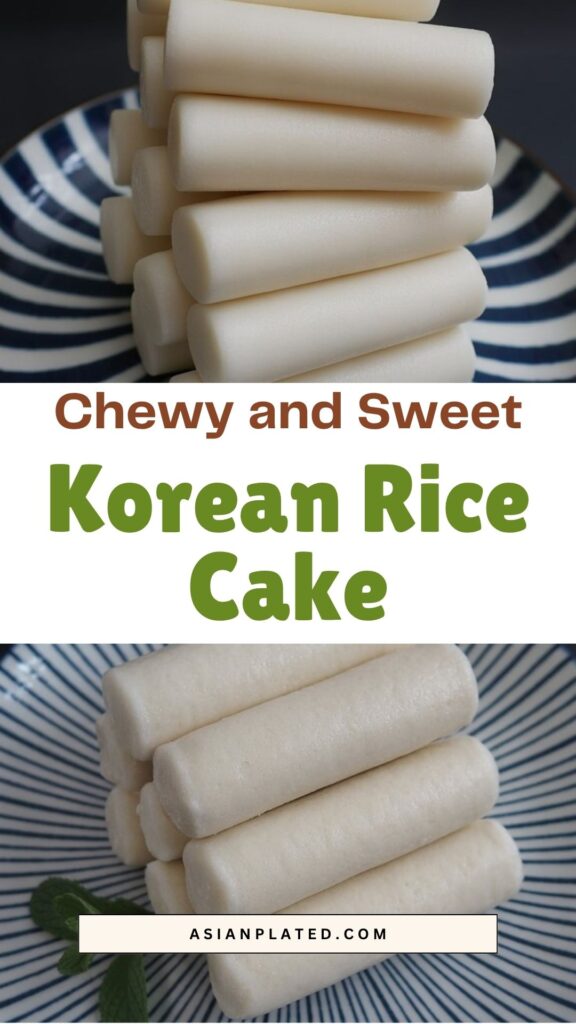
Korean Rice Cake
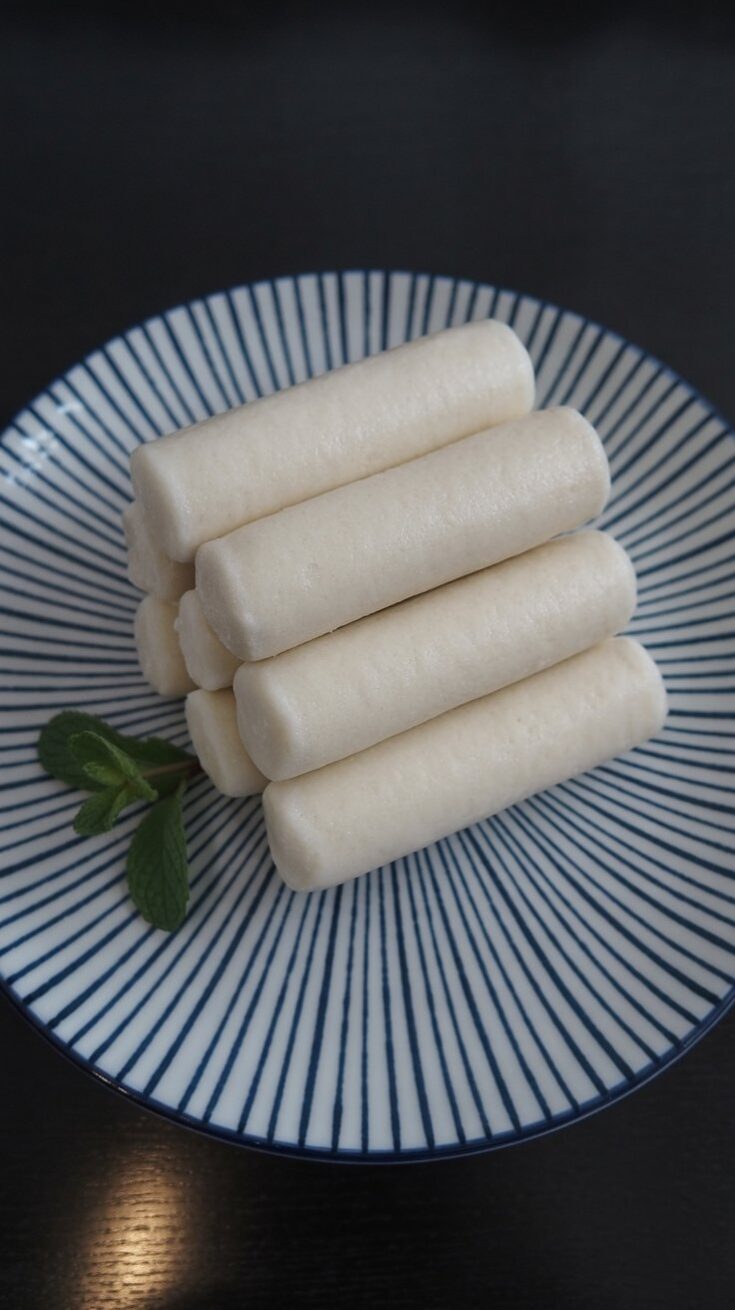
If you’ve ever wanted to try making tteokbokki or tteokguk from scratch, it all starts with this – garaetteok, the soft, chewy Korean rice cakes.
Ingredients
- ¾ cup hot water (adjust as needed)
- ½ tsp salt
- 2 tsp toasted sesame oil (plus more for kneading and coating)
- 1 cup short grain rice flour (sweet rice flour or glutinous rice flour)
Instructions
- Start by mixing the rice flour and salt together in a microwave-safe glass bowl. Slowly stream in the hot water while stirring, just until the mixture resembles a moist, crumbly texture. Be careful not to add too much water at once—it’s easier to fix dryness than sogginess.
- Loosely cover the bowl with plastic wrap, leaving a small gap to allow steam to escape. Microwave on high for 2 minutes. Carefully remove the bowl (it’ll be hot), give the dough a good stir, and if it seems too dry, sprinkle in a little more water. Cover again with the same wrap and microwave for another 2 minutes.
- Once done, transfer the warm, sticky dough onto a lightly greased silicone mat or cutting board. Drizzle a bit of sesame oil on top and start pounding it with a pestle or sturdy masher. Keep at it until the dough starts looking cohesive.
- When it begins coming together, switch to kneading by hand. Add a touch of hot water if the dough feels too firm or cracks while kneading. Keep going until the dough is smooth, soft, and pliable.
- Divide the dough into four portions. Roll each piece into a long, smooth log about the thickness of a thumb. Trim the uneven ends and slice into smaller cylinders, depending on how long you like your rice cakes. Rub a bit of sesame oil over them to keep them from sticking together.
- You can use them fresh or store them in a zip-top bag in the fridge or freezer for later. They reheat beautifully in soups or stir-fried dishes like tteokbokki!
Nutrition Information:
Yield: 16 Serving Size: 1Amount Per Serving: Calories: 41Total Fat: 1gSaturated Fat: 0gTrans Fat: 0gUnsaturated Fat: 1gCholesterol: 0mgSodium: 73mgCarbohydrates: 8gFiber: 0gSugar: 0gProtein: 1g
Asianplated.com, occasionally offers nutritional information for recipes contained on this site. This information is provided as a courtesy and is an estimate only. This information comes from online calculators. Although allchickenrecipes.com attempts to provide accurate nutritional information, these figures are only estimates.
Extra Tips for Great Results
- Use the right flour – Avoid basmati or long-grain varieties. Stick to raw rice or sweet rice flour with high starch content.
- Don’t overdo the water – The mix should stay crumbly before cooking. If it turns doughy, the final result will be dense.
- Pound or knead thoroughly – This is where the magic happens. The more elastic your dough, the better your rice cake texture.
- Always oil your hands and tools – Makes shaping a breeze and prevents sticking.
Let me know if you try making these at home! Whether you’re rolling them for spicy tteokbokki or just pan-frying them with sesame oil, these chewy little sticks bring that Korean street food vibe straight to your kitchen.
Try other Korean recipes: