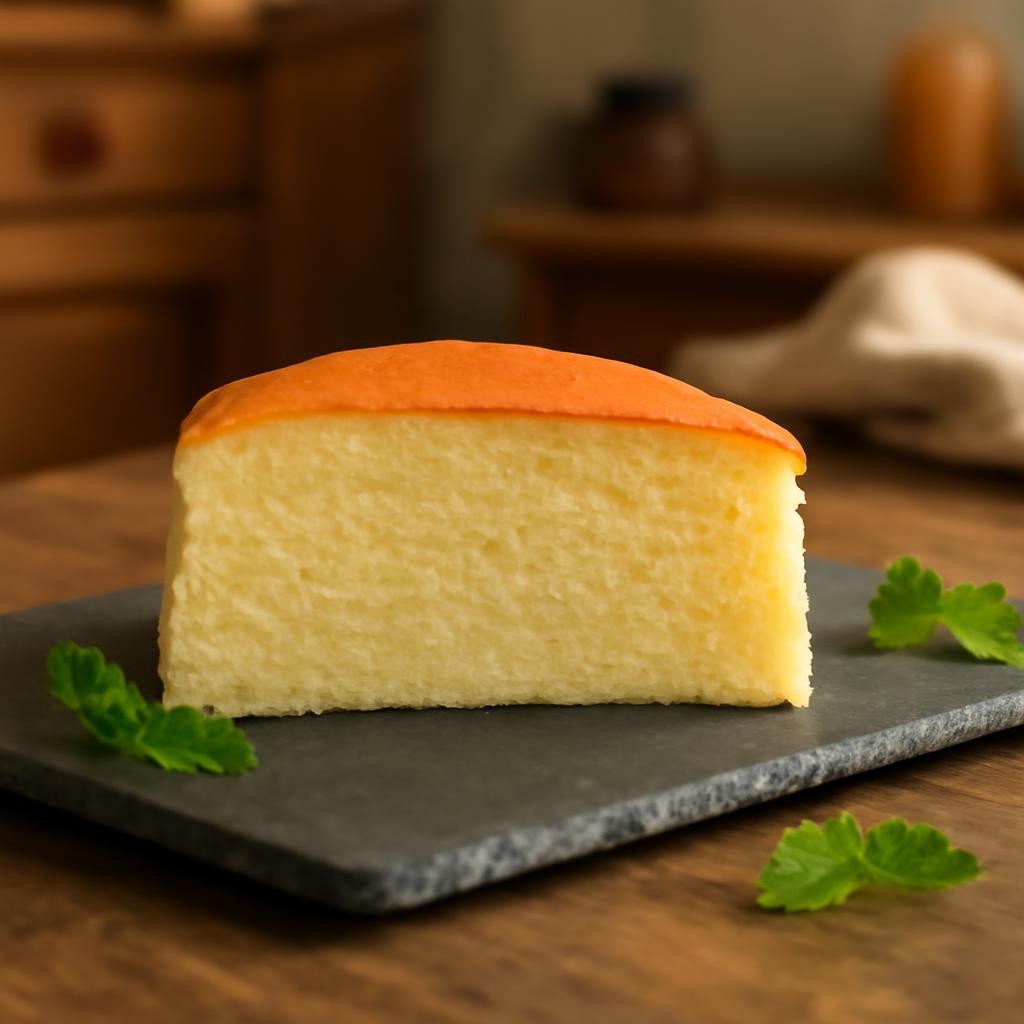
Japanese Cheesecake is a delightful fusion of light, fluffy textures and rich flavors that melt in your mouth. Known for its signature jiggly appearance and airy consistency, this cake is a perfect blend of traditional cheesecake and a soufflé. It’s a dessert that brings a sense of indulgence without being overly heavy, making it an appealing treat for any occasion.

Why You Will Love This Recipe
This Japanese cheesecake recipe is not only delicious but also surprisingly easy to prepare. With a unique flavor profile that balances sweetness with a subtle tang from the cream cheese, it caters to those who enjoy desserts that aren’t overly sugary. The recipe is perfect for those on a lighter diet, as the cake is less dense than traditional cheesecakes. Whether you’re a baking novice or a seasoned pro, you’ll find this recipe straightforward and rewarding.
Tips and Tricks
- Room Temperature Ingredients: Ensure your cream cheese and eggs are at room temperature to achieve a smooth batter without lumps.
- Bain-Marie Technique: Baking the cheesecake in a water bath helps maintain moisture and prevents cracking. Wrap the bottom of the springform pan in aluminum foil to avoid water seeping in.
- Sifting Dry Ingredients: Sift the flour and cornstarch to avoid any clumps, ensuring a creamy texture in your final bake.
- Cool Gradually: After baking, turn off the oven and crack the door open to let the cake cool gradually, which helps avoid sudden temperature changes that can cause cracks.
Make Ahead Tips
You can prepare the batter a day in advance and store it in the refrigerator. This will allow the flavors to meld beautifully. The baked cheesecake can also be made ahead of time and kept in the fridge for up to three days. Just ensure it’s well covered to prevent it from absorbing any odors.
Recipe Variations
- Matcha Japanese Cheesecake: Incorporate matcha powder into the batter for a unique flavor and a beautiful green hue.
- Chocolate Version: Add melted dark chocolate to the batter for a rich chocolate twist on the classic.
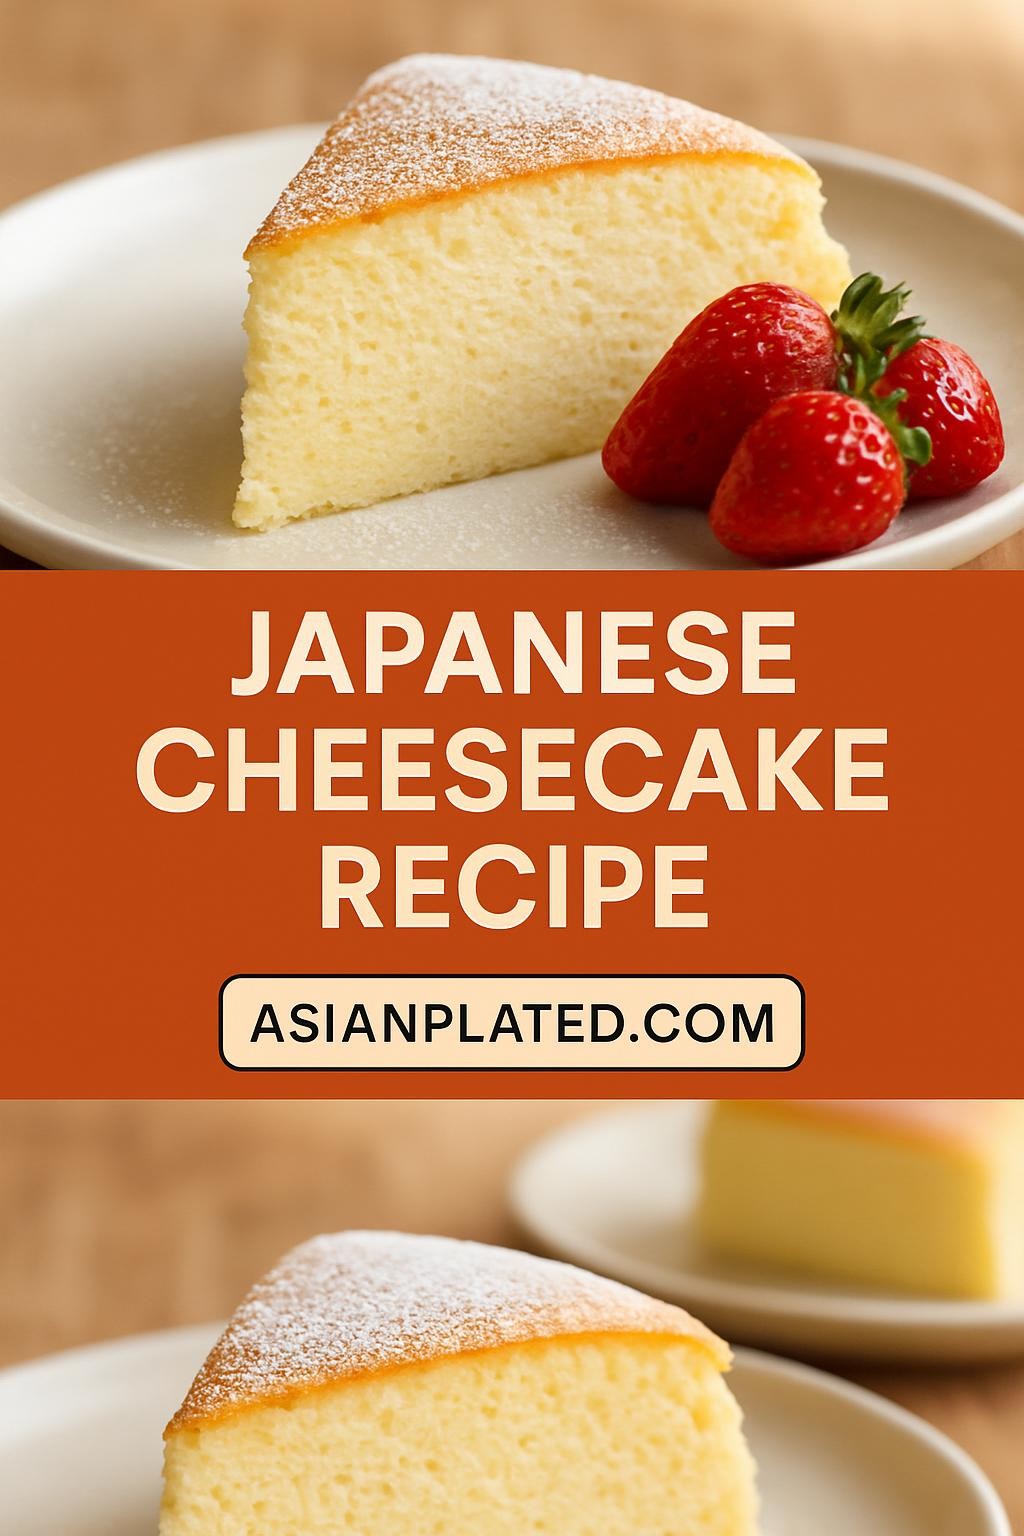
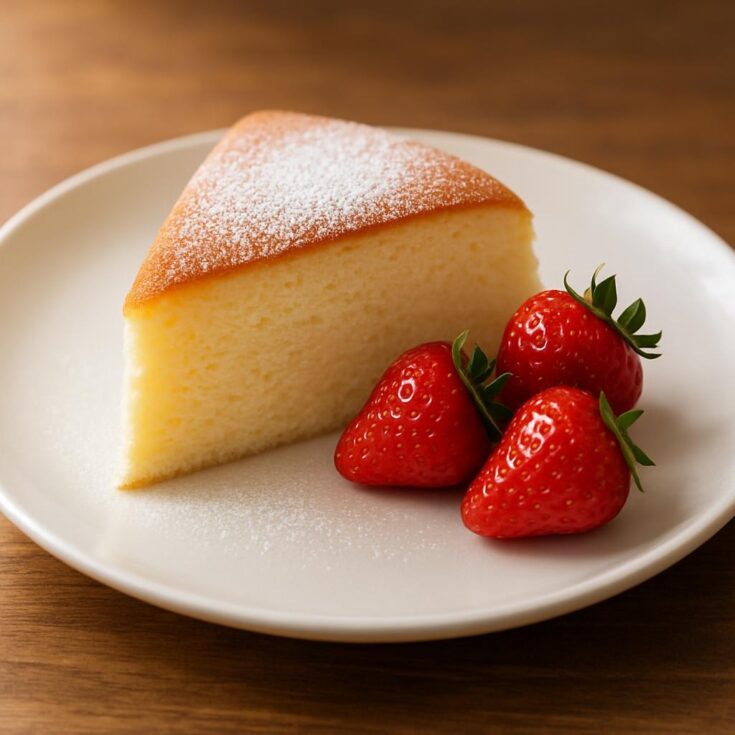
- Fruit Toppings: Serve with fresh fruit, such as strawberries or mangoes, for a refreshing contrast.
How to Serve
For the best presentation, serve the cheesecake chilled, dusted lightly with powdered sugar. You can garnish it with a few berries or a drizzle of fruit coulis. A dollop of whipped cream on the side adds an extra touch of elegance.

Pairing Suggestions
Pair your Japanese cheesecake with a cup of green tea for a traditional Japanese experience. For a richer option, serve it with a glass of dessert wine, such as a late harvest Riesling. Alternatively, a creamy cappuccino complements the cheesecake’s light texture beautifully.
How to Store
Store leftovers in an airtight container in the refrigerator for up to three days. For longer storage, wrap individual slices in plastic wrap and freeze for up to a month. To reheat, allow to thaw in the refrigerator overnight and serve chilled.
Equipment Needed
- Springform pan: Essential for creating the perfect shape and easy removal.
- Mixing bowls: A large bowl for mixing the batter and a smaller one for whisking.
- Electric mixer: While a hand whisk can work, an electric mixer will ensure a smoother batter.
- Baking tray for the water bath: Make sure it’s large enough to hold the springform pan.
Dietary Adaptations
To make this recipe vegan, substitute cream cheese with a plant-based alternative and use flax eggs. For a gluten-free option, replace all-purpose flour with a gluten-free flour blend. Ensure any baking powder used is also gluten-free.
Seasonal Adaptations
In spring, add fresh strawberries or rhubarb on top for a seasonal twist. In the fall, consider incorporating pumpkin puree and warming spices for a cozy flavor profile.
Recipe FAQs
- Can I substitute the cream cheese?: Yes, use a vegan cream cheese or a nut-based alternative for a dairy-free version.
- How long does it take to bake?: The cheesecake typically takes about 60 minutes, but check for doneness with a toothpick.
- Can I make it in advance?: Absolutely! It keeps well in the fridge for up to three days.
Japanese Cheesecake
Japanese Cheesecake is a delightful fusion of light, fluffy textures and rich flavors that melt in your mouth.
Ingredients
- 8 oz cream cheese, softened
- 1/2 cup granulated sugar
- 1/4 cup milk
- 3 large eggs
- 1/4 cup all-purpose flour
- 1 tablespoon cornstarch
- 1 teaspoon vanilla extract
- A pinch of salt
Instructions
- Preheat the oven to 320°F (160°C). Prepare a 9-inch springform pan by greasing it and wrapping the bottom with aluminum foil.
- In a mixing bowl, beat the softened cream cheese with granulated sugar until smooth.
- Gradually add in the milk, mixing until well combined.
- Add the eggs one at a time, ensuring each is fully incorporated before adding the next.
- Sift in the flour and cornstarch, mixing gently until just combined. Stir in the vanilla extract and salt.
- Pour the batter into the prepared springform pan.
- Place the springform pan in a larger baking tray filled with hot water, creating a bain-marie.
- Bake for about 60 minutes or until the cake is set and the top is lightly golden.
- Turn off the oven, crack the door, and let the cheesecake cool in the oven for about an hour.
Once cooled, refrigerate for at least 4 hours before serving.
Nutrition Information:
Yield: 8 Serving Size: 1Amount Per Serving: Calories: 198Total Fat: 12gSaturated Fat: 6gTrans Fat: 0gUnsaturated Fat: 4gCholesterol: 99mgSodium: 136mgCarbohydrates: 19gFiber: 0gSugar: 14gProtein: 5g
Asianplated.com, occasionally offers nutritional information for recipes contained on this site. This information is provided as a courtesy and is an estimate only. This information comes from online calculators. Although allchickenrecipes.com attempts to provide accurate nutritional information, these figures are only estimates.
Final Thoughts
Making Japanese cheesecake is a rewarding baking experience that results in a light and delightful dessert perfect for any occasion. Whether you enjoy it plain or adorned with fresh toppings, this cheesecake is sure to impress your family and friends. Happy baking!