If you’ve ever had a slice of Indonesian layer cake (kue lapis legit), you’ll know it’s no ordinary treat. Each thin, golden layer carries the warmth of cinnamon, cloves, nutmeg, and cardamom, all tied together with buttery richness. It’s one of those cakes that feels like a family gathering in itself — the kind of dessert you share in small slices because the effort and the flavor are equally rich.
For me, this cake has always been about patience and love. Growing up, I remember sitting near the oven as my aunt slowly grilled each layer, her tea cup resting on the counter. She’d joke that this cake demands both stamina and commitment — and honestly, she was right. By the time the last layer is browned, you’ve invested hours, but every bite makes it worthwhile.
Why This Cake is So Special
This isn’t a cake you whip up on a casual Wednesday night. It’s the kind of cake you make when you want to impress family during Lunar New Year, or when close friends are visiting. The thin slices look delicate on the plate, but each bite packs bold spice, buttery softness, and that beautiful layered pattern that always earns a “wow.”
Sometimes I hear people say, “But it uses so many eggs!” And yes, it does — some versions call for up to 25 yolks! But honestly, this is not the place for calorie math. This is a celebratory cake. One slice with tea, one smile from a guest — that’s what makes it worth baking.
Ingredients – What They Really Do
Here’s where I like to pause and talk about the ingredients, because every one of them has a role in making this cake stand tall (and taste divine):
- Butter: Don’t skimp here. The richness of the butter gives the cake its moist crumb. I always use good-quality butter, and I let it soften to that “still cool but pressable” stage.
- Spices: You can buy ready-made lapis spice mix, but I often make my own. Freshly ground nutmeg or cardamom makes a world of difference. If you like stronger flavors, lean a little heavier on the cinnamon.
- Eggs and yolks: This is where the structure and richness come from. Using room-temperature eggs is a must — they whip up with more volume and make the batter lighter.
- Condensed milk: That sweet milky note is subtle but makes the cake taste like childhood treats.
- Brandy (optional): Some families use it, some don’t. Personally, I love adding just a splash. It brings a little warmth without overpowering the spices.
How I Bake the Layers Without Losing My Mind
Let’s be honest: the idea of standing by the oven for 2.5 hours layering and grilling can sound… exhausting. The trick is to make it enjoyable. I usually set myself up with a playlist or a podcast, and by the time I’m halfway through, I get into a rhythm — spread, grill, prick, repeat.
Here’s what works for me:
- I think of the first two layers as practice rounds. They may not look perfect, but they set the foundation.
- A ladle or weighing out 80–85 g per layer keeps them even without fussing.
- Don’t panic if air bubbles form. I keep a toothpick nearby and just prick them quickly — it’s perfectly normal.
- I use a light hand when pressing each layer. Too much force and the cake can turn dense instead of airy.
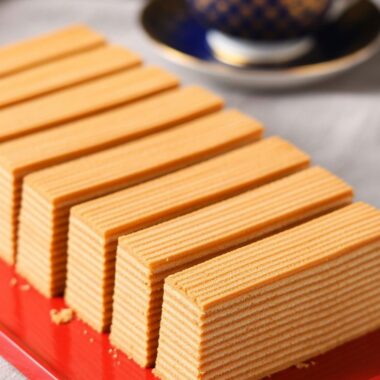
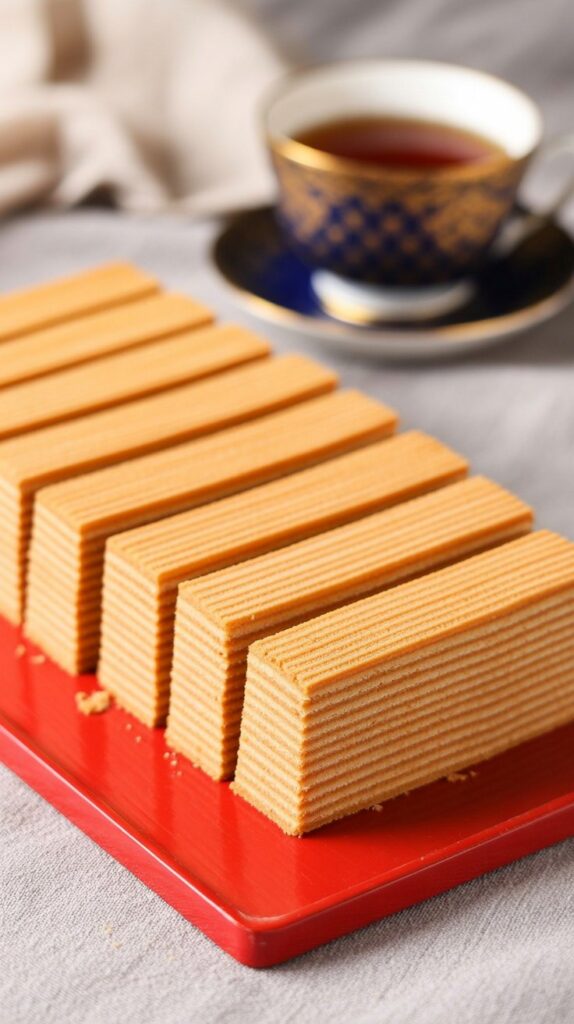
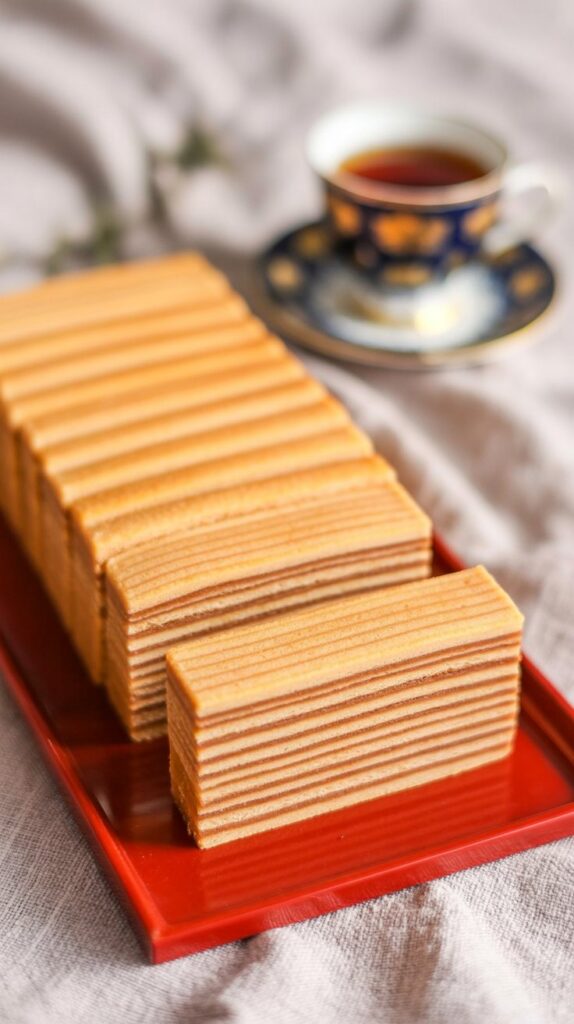
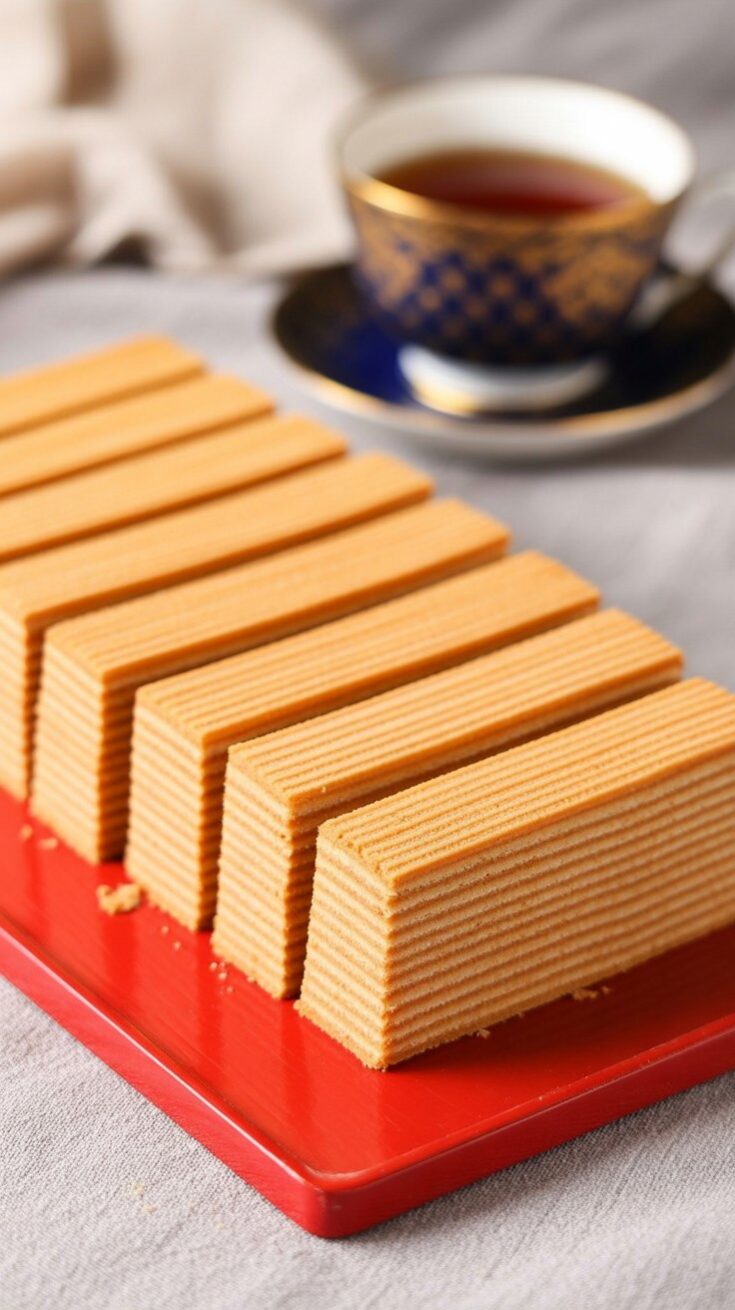
By the end, you’ll see those golden stripes stack up like a work of art. The most satisfying part is trimming the edges to reveal the clean layers inside — it always feels like unwrapping a gift.
Helpful Pointers From My Kitchen
Over the years, I’ve picked up little tricks that save both the cake and my sanity:
- All ingredients at room temp: This is the difference between a light batter and a dense one. I usually pull eggs and butter out of the fridge at least an hour before I start.
- Don’t rush the mixing: Creaming butter and condensed milk until it’s truly fluffy sets the tone. Same with beating the eggs to ribbon stage — patience here pays off in texture.
- Watch your oven’s grill mode: Every oven is slightly different. I had to test a few layers before I found the sweet spot in mine (around 200–210°C).
- Layer thickness: I aim for around 5 mm per layer, which gives me about 12–13 layers. Thinner than that and they risk burning, thicker than that and you get fewer stripes — both are fine, but this middle ground works best for me.
Storing the Cake
This cake actually keeps very well, which makes it perfect for holidays when you want to bake ahead. Once cooled, I store it in an airtight container on the counter for up to 5 days. If I want it to last longer, I wrap it tightly in cling film and keep it in the fridge (up to 3 weeks). For even longer storage, it freezes beautifully for up to 3 months — just slice it first, so you can thaw only what you need.
How I Like to Serve It
I usually cut this cake into slim rectangles and arrange them neatly on a serving plate. They look elegant with tea or coffee, and the layers almost sparkle under good light. During Lunar New Year, I’ll serve it alongside pineapple tarts and almond cookies — it’s always the one that disappears fastest.
Sometimes I’ll even wrap a few slices in parchment and pass them to neighbors. There’s something special about gifting a cake that took real effort — people can taste the love in every layer.
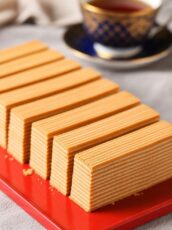
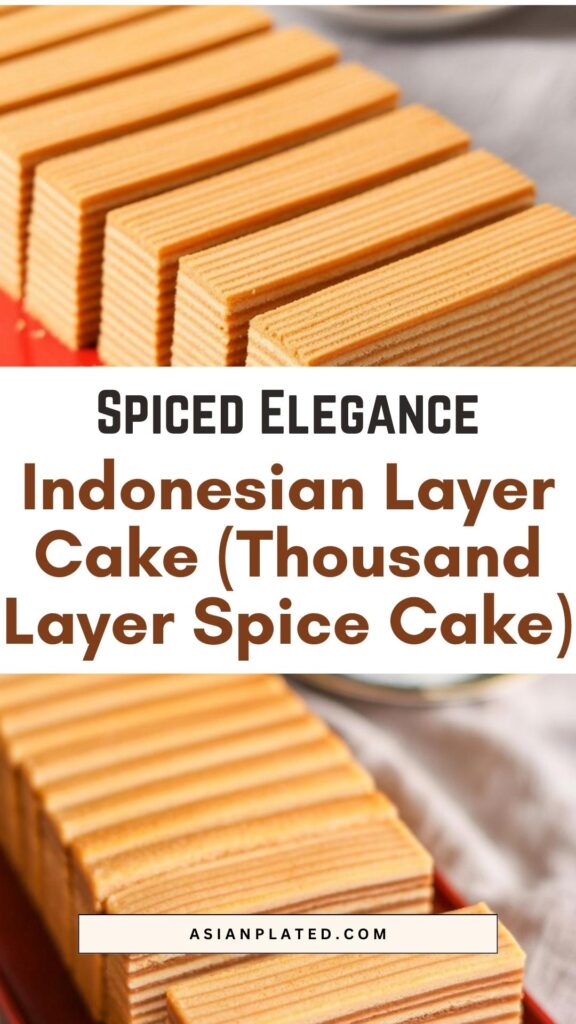
Indonesian Layer Cake (Thousand Layer Spice Cake)
Golden, fragrant, and delicately spiced—this iconic Indonesian cake is a true labor of love. Each buttery layer is baked individually, creating a stunning stripe pattern that’s as beautiful as it is delicious. Infused with warm spices like cinnamon, nutmeg, and cloves, it’s perfect for festive occasions or as an indulgent treat with tea.
Ingredients
- 250 g unsalted butter, softened
- 2 tbsp condensed milk
- 1 tbsp sponge cake gel or emulsifier (SP or Ovalett)
- 1 tsp vanilla extract
- 1 tbsp brandy (optional)
- 250 g caster sugar
- 3 whole large eggs
- 16 egg yolks
- 100 g self-raising flour (or cake flour + 1⅛ tsp baking powder)
- 1½ tsp lapis cake spice (or mixed spice)
- ¼ tsp salt
Instructions
- Prepare the pan: Preheat the oven to 200°C (392°F). Grease and line the base of an 8-inch square cake pan. Place the rack in the center of the oven.
- Mix dry ingredients: Sift flour, lapis spice, and salt into a bowl. Set aside.
- Cream the butter: In a stand mixer with a paddle attachment, beat butter and condensed milk on medium speed until pale and fluffy (about 5–7 minutes). Scrape down the bowl as needed. Avoid high speed to prevent the butter from getting greasy.
- Whip the eggs: In a separate clean bowl with the whisk attachment, whip whole eggs, yolks, sugar, and sponge gel on medium speed until very thick and pale, reaching ribbon stage (about 10–15 minutes). Reduce to low speed for 1–2 minutes to smooth out the batter.
- Combine mixtures: Add the sifted dry ingredients to the egg mixture and mix briefly until combined. Lightly beat the creamed butter by hand to loosen, then fold in one cup of the egg mixture. Gently incorporate the rest of the butter mixture in three additions. Stir in vanilla and brandy.
- Bake the layers: Warm the cake pan in the oven for 2 minutes. Switch to top heat (grill mode). Spread about 80–85 g of batter evenly in the pan for the first layer. Grill until just set and lightly golden (about 3 minutes).
- Layer and repeat: Prick any air bubbles with a fork or toothpick, then spread the next layer of batter. Tap the pan to release bubbles before grilling the next layer (about 5 minutes per layer). Continue until all the batter is used, adjusting baking time for the final layers as they brown faster.
- Final bake: Once the last layer is golden, switch to top and bottom heat at 180°C (356°F) and bake for 2–3 minutes to set the cake. Cover loosely with foil if it browns too much.
- Cool and serve: Let the cake cool for 5 minutes in the pan, then loosen the sides and invert onto a wire rack. Once fully cooled, trim edges to reveal the beautiful layers. Wrap well in cling film to store, and refrigerate or freeze.
Nutrition Information:
Yield: 1 Serving Size: 1Amount Per Serving: Calories: 4433Total Fat: 295gSaturated Fat: 159gTrans Fat: 0gUnsaturated Fat: 121gCholesterol: 4079mgSodium: 2304mgCarbohydrates: 369gFiber: 3gSugar: 281gProtein: 78g
Asianplated.com, occasionally offers nutritional information for recipes contained on this site. This information is provided as a courtesy and is an estimate only. This information comes from online calculators. Although allchickenrecipes.com attempts to provide accurate nutritional information, these figures are only estimates.
Final Thoughts
Baking Indonesian layer cake is truly a labor of patience. It’s not the fastest dessert, but it’s one of the most rewarding. Each layer you add feels like you’re building a story — one that you’ll later share over tea with friends and family.
If you do try it, don’t stress over perfection. The beauty of this cake is in its character. Some layers might brown a little darker, some might have tiny bubbles — that’s part of its charm. And trust me, the taste will always win hearts.
Try other Indonesian recipes: