If you’ve ever had Korean fried chicken—crispy, sticky, finger-licking good—you know there’s something special about the little side of white pickled cubes that comes with it. That’s chicken mu—sweet, tangy, crunchy Korean pickled radish. And let me tell you, once you try it, it’s hard to imagine eating Korean fried chicken without it.
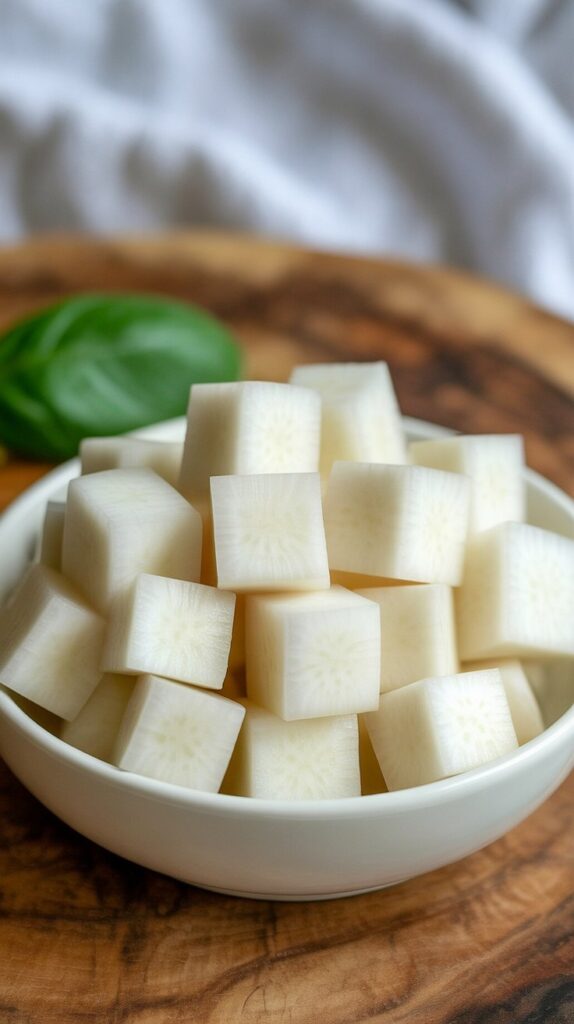
I always make a big batch of this whenever fried chicken’s on the menu, especially when it’s one of those rainy weekend dinners where I’m frying chicken while something loud’s playing on Netflix. Chicken mu doesn’t just cut through the richness of the chicken—it balances it. It’s refreshingly simple, and honestly? It’s good enough to snack on straight from the fridge.
What Makes Chicken Mu So Special
Korean radish—mu—is like the secret star of many Korean dishes. You’ll find it in soups, stews, braises, even in kimchi like kkakdugi (the spicy cubed one). But this pickled version is different. It’s clean, crisp, and almost palate-cleansing.
When I first made this at home, I didn’t expect it to be so addicting. I’d meant to save it for dinner with some soy-glazed chicken, but I kept sneaking a few cubes while it was chilling. That crunch is something else.
Ingredients You’ll Need
This recipe is beautifully bare-bones. No fancy equipment, no boiling jars. Just a good sharp knife, a container with a lid, and a few kitchen staples.
- Korean radish (mu) – You can usually find it in Korean or Asian markets. It’s rounder and stubbier than daikon, with a firmer texture and slightly sweeter taste. But if you can’t find mu, daikon works in a pinch—it’s milder and still gives a nice crunch.
- Salt, sugar, white vinegar, and water – That’s all you need for the pickling liquid. I usually eyeball it now, but the first few times, I stuck to the ratios to get it just right. Make sure you use plain white vinegar—it gives that bright tangy kick.
Quick Prep Steps (No Cooking Needed)
I love how ridiculously easy this is. From start to finish, you’re done in under 10 minutes—and that’s being generous. Here’s how I go about it:
- Peel the radish. I like to use a regular vegetable peeler. Don’t skip this—radish skin can be tough.
- Cut into thick discs. Somewhere between ½-inch to 1-inch works. I usually go for ¾-inch because I like each bite to have some heft. If it’s too thin, it loses its crunch faster.
- Cube the discs. Cut each disc into halves or quarters depending on size, then slice across the other direction to make little cubes. You can make them smaller if you’re serving kids—my niece likes the tinier ones.
- Mix the pickling liquid. In a container, stir together 1 part vinegar, 1 part water, sugar, and a good pinch of salt. Stir until dissolved.
- Add the radish cubes. Pop them into the liquid and make sure they’re fully submerged. Seal the lid, give it a gentle shake, and that’s it.
Chill and Let It Soak
Now comes the hard part—waiting. The cubes start to taste pretty good after 2–3 hours in the fridge, but if you really want that signature flavor, let them sit overnight. I always make it the night before chicken night.
You’ll notice the radish gets a bit translucent as it soaks, and the flavor sharpens up beautifully. I’ve even started adding it to my rice bowls and salads—it works like a charm.
How to Keep It Fresh
Store the chicken mu in an airtight container in the refrigerator. It keeps well for up to 2 weeks, though at my place, it never lasts that long. I’ve noticed it’s best during the first week—still crunchy and bright.
If you make a big batch, don’t be afraid to toss some into other meals. I sometimes pair it with grilled meats or tuck it into wraps with leftover chicken and lettuce. It adds just the right kind of zip.
FAQs About Chicken Mu
Can I use daikon instead of Korean radish?
Absolutely. Daikon is milder, a bit more watery, but still works well. If that’s what you can find, go for it.
Do I have to boil the pickling liquid?
Nope! That’s the beauty of this recipe—just stir it all together cold and pour it over the radish.
Can I reuse the pickling liquid?
I don’t recommend it. Once the radish has been sitting in it for a week, the texture and flavor change. Always make a fresh batch.
Does it get too sour after a while?
Yes, around the 2-week mark, it can start getting overly tangy. That’s your cue to finish it off or make a new batch.
Chicken Mu (Korean pickled radish)
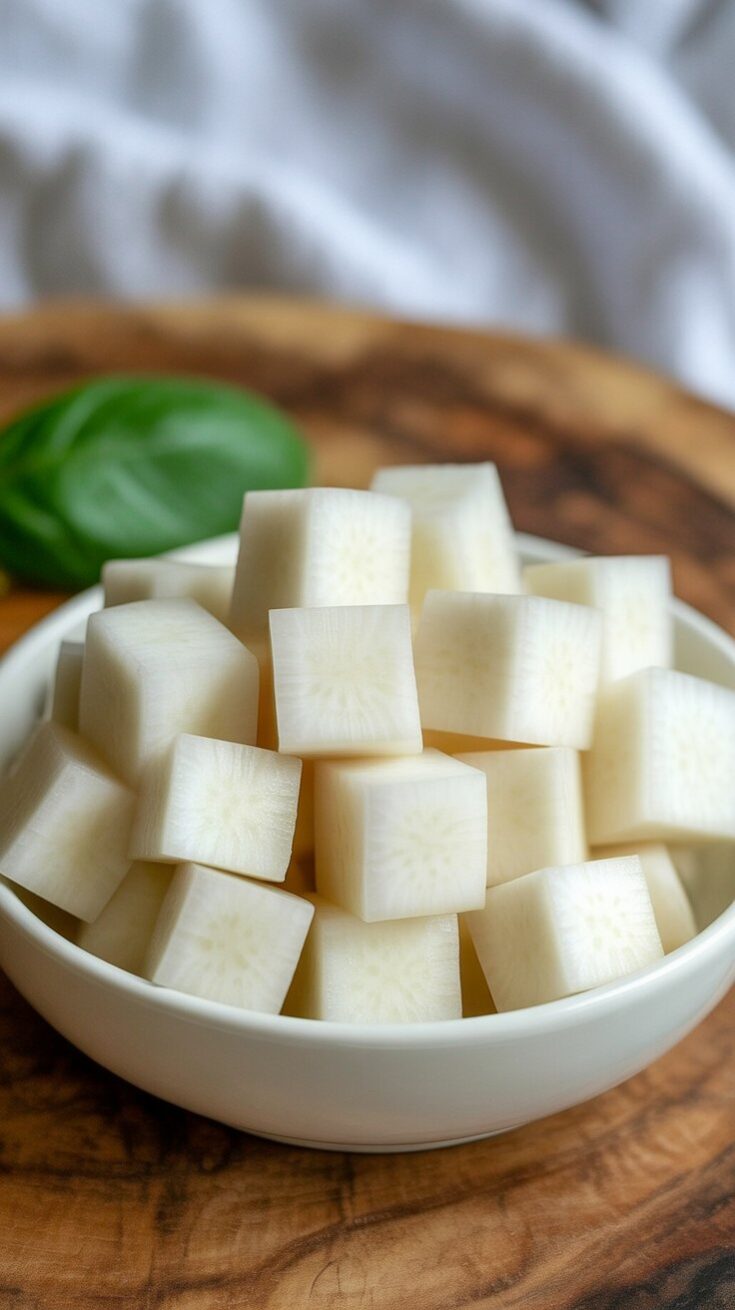
Crunchy, sweet, and perfectly tangy—Chicken Mu is the refreshing sidekick every Korean fried chicken night needs. But don’t limit it to just fried chicken! This crisp pickled radish works beautifully alongside rich stews or even tucked into rice bowls for a little zing.
Ingredients
- 1/3 cup water
- 2 tablespoons white vinegar
- 3 tablespoons sugar
- 1½ teaspoons salt
- ½ lb Korean radish or daikon, peeled
Instructions
- Start by peeling your radish, then slice it into thick discs—somewhere between ½ to 1 inch thick, depending on how chunky you like your pickles. I personally go for about ¾ inch for that perfect crunch.
- Take those discs and cut them into bite-sized cubes.
- In a mixing bowl (or right in the container you're using), stir together the water, vinegar, sugar, and salt until everything is fully dissolved.
- Drop the radish cubes into the pickling liquid and give it a good shake or stir to make sure each piece is coated and submerged.
- Seal the container and let it rest in the fridge for at least 24 hours to develop that signature sweet-sour flavor. These will stay crisp and tasty for up to 2 weeks!
Nutrition Information:
Yield: 1 Serving Size: 1Amount Per Serving: Calories: 250Total Fat: 1gSaturated Fat: 0gTrans Fat: 0gUnsaturated Fat: 1gCholesterol: 0mgSodium: 3252mgCarbohydrates: 58gFiber: 9gSugar: 48gProtein: 4g
Asianplated.com, occasionally offers nutritional information for recipes contained on this site. This information is provided as a courtesy and is an estimate only. This information comes from online calculators. Although allchickenrecipes.com attempts to provide accurate nutritional information, these figures are only estimates.
One Last Tip
If you’re planning a Korean-style dinner night at home, make this the day before and let it chill next to your gochujang or dipping sauces. And don’t limit it to fried chicken—try it with grilled tofu, pulled pork, or even just a simple rice bowl with egg.
This is one of those “secret weapon” recipes I keep on rotation, and once you try it, I think you’ll be hooked too.
Try other Korean recipes:


